Boxes & shipping
Mailer Box vs Shipping Box: Which Fits Best? 5 Checks to Decide
Compare box structures, usable space, transit protection and complete packing costs before you choose a format.
1. The main difference is structure and packing use
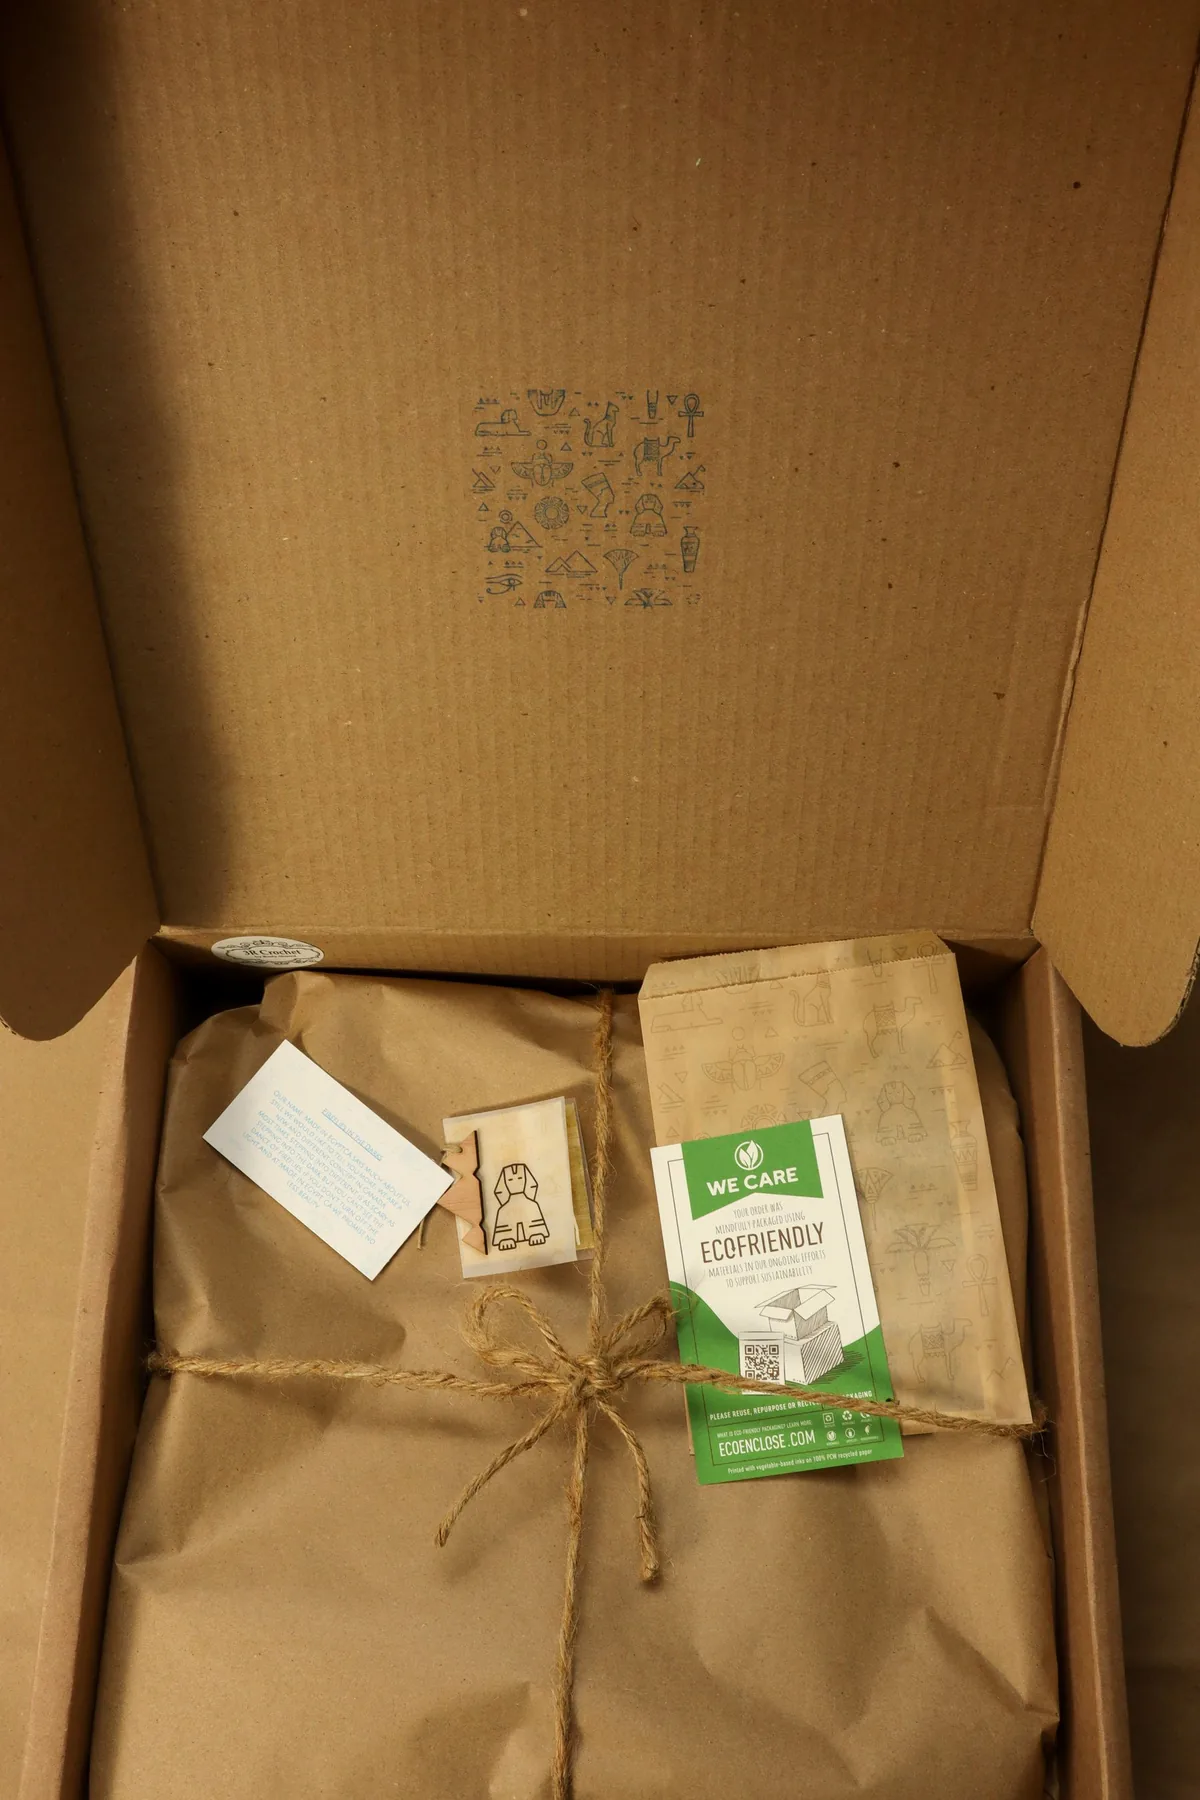
In a mailer box vs shipping box comparison, the first thing to check is the actual structure. A mailer box commonly has a hinged lid and tabs that tuck into the body. A shipping box commonly has top and bottom flaps closed with tape. Both can be made from corrugated board, and either may be customized. The name alone does not tell you which package is stronger.
A tuck-top mailer is often chosen for compact ecommerce orders and a controlled unboxing sequence. A flap-style shipping carton can suit larger products, multiple items or an outer layer around a retail box. There is overlap: a sufficiently specified mailer can be a shipper, and a shipping carton can carry attractive print.
Start with the specifications for custom mailer boxes and custom shipping boxes. Ask for the dieline, internal dimensions and board construction before deciding from the product photo.
| Decision | Mailer box | Shipping box |
|---|---|---|
| Typical closure | Hinged lid with tuck tabs; may need a transit seal | Flaps closed with suitable tape |
| Common packing use | Compact orders, presentation and subscriptions | Larger orders, mixed items and outer transport cartons |
| Print possibilities | Outside and inside print where offered | Printed outside panels; other options depend on the route |
| Protection | Depends on board, size, closure and internal support | Depends on board, size, sealing and internal support |
| Cost drivers | Dieline, board, print coverage and quantity | Dimensions, board, print, sealing and quantity |
2. Compare protection with the product inside
Do not treat an extra fold as proof of adequate protection. Board construction, span between folds, product weight, fit and closure all affect the packed result. Ask the supplier to recommend a board and structure for your product and delivery route, and confirm what testing supports that recommendation.
An apparel pack and a glass candle can look similar from the outside but need different internal systems. Soft goods may need protection from contamination, snagging or moisture. A breakable item may need cushioning, separation and a design that limits movement. Tissue is a presentation layer and should not be counted as the main protective cushion for a fragile product.
For products that need to stay positioned, consider custom mailers with inserts. Check the insert with the real product, including manufacturing tolerances and any lid clearance. An overly tight insert can make removal difficult; an overly loose one may allow damaging movement.

3. Measure internal fit and external shipping size
Measure the finished pack, not just the bare product. Include the pouch, protective wrap, insert and any bundled accessories. Confirm whether the supplier’s stated dimensions are internal, external or based on a flat blank. The usable space after folding can differ from what a photo suggests.
Consider an illustrative pack with a wrapped product measuring 190 × 140 × 45 mm. That measurement is a starting point for a sample, not a final box specification. You still need space for the selected protection system, assembly tolerances and comfortable removal. Ask the supplier to propose the necessary clearance rather than applying one universal allowance.
External dimensions matter to the carrier and to your storage shelves. A large decorative box can need more filler and create a larger shipment than expected. Ask your carrier or fulfilment provider how the final packed dimensions and weight affect your service and charges; rules vary by route and provider.
Measure twice: internal space for product fit, external packed dimensions for shipping and storage. Record both on the approved specification.
4. Compare the complete packing cost
Quote the two formats for the same product, delivery route and order quantity. A useful comparison includes the box, tooling or setup, print, insert, cushioning, seal or tape, and packing time. Check freight and carton packing details too: flat boxes still take up space when you receive and store them.
A mailer may give a tidy presentation with fewer assembly steps, but its closure may still need sealing for your shipment. A shipping carton may have a straightforward structure but need an additional retail pack inside. Neither format automatically has the lowest cost per successful delivery.
Review tape and protective wrap as part of the comparison. Specify the surface and closure method rather than choosing tape by colour alone. Trial the complete pack with the people who will assemble orders, and record the steps they actually perform.
If the presentation can be achieved with a simple wrap and seal, compare options in tissue paper before adding inside print, ribbon and a second decorative box. The right system reflects the customer’s product and the fulfilment team’s workload.
5. Prepare a box brief that suppliers can compare
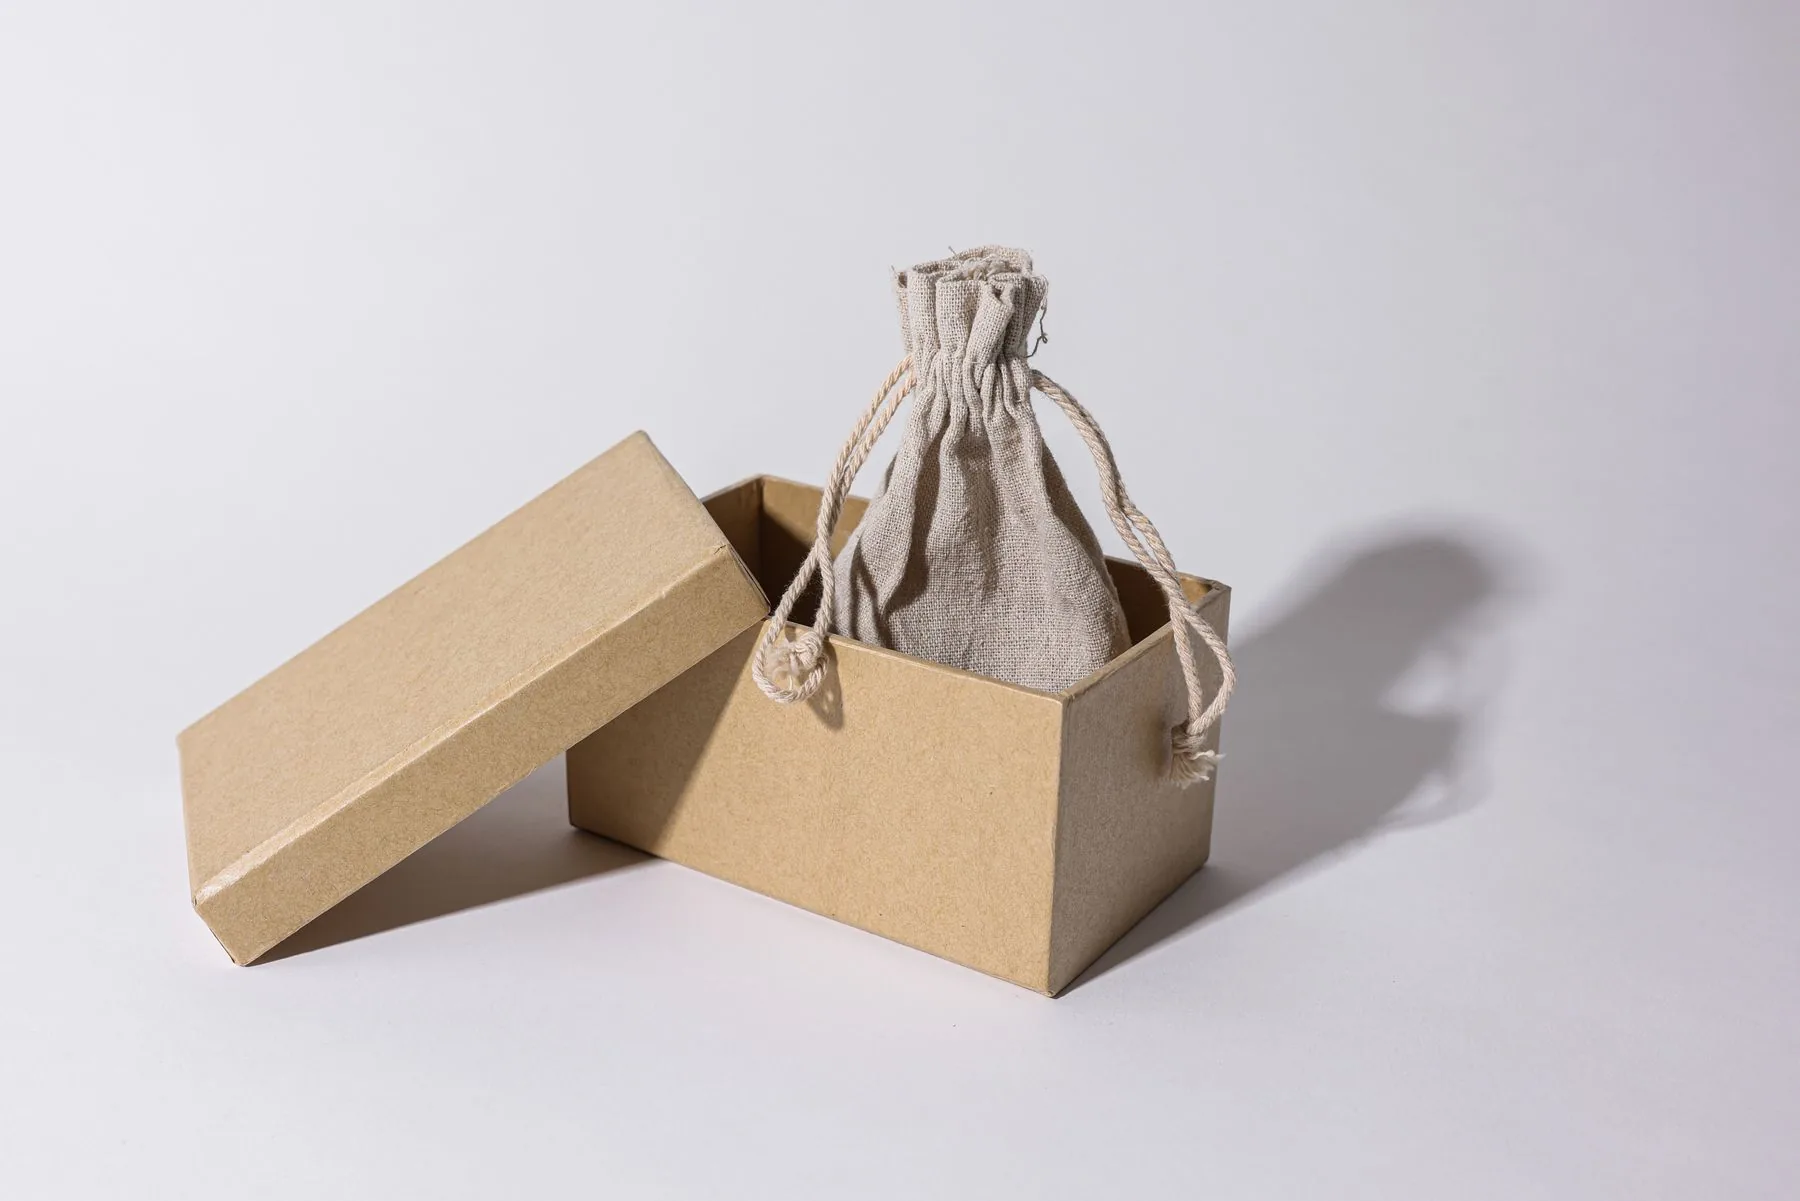
A clear brief makes quotes easier to assess. Include the product dimensions and weight, number of products per order, protection requirements, quantity per design, printing locations, destination and required delivery date. Flag whether the box is the only shipping layer or will go inside another carton.
Use the artwork preparation guide for file planning, and ask for the confirmed dieline before setting final print positions. A lid seam, tab or fold can interrupt a logo or a small line of text. Specify the orientation you want customers to see when they first open the pack.
Before approving production, assemble a physical sample with the product inside. Check lid engagement or flap sealing, insert fit, scuffing and the final shipping label position. Decide which protection and appearance checks must be passed for your actual shipment conditions.
Common box questions
Can a mailer box be shipped without another box?
It can, when its structure, board, closure and inner protection are suitable for the product and route. Confirm this with a packed sample and the relevant testing. A tuck closure alone does not establish transit suitability.
Is a shipping box stronger than a mailer box?
There is no reliable answer from the format name alone. Compare the specified board, dimensions, folds, closure and packed performance. Request the supplier’s recommended testing for the weight and fragility of your product.
Which is better for a gift product?
A mailer may create a simple opening sequence, while a retail presentation box inside a shipping carton separates display from transit protection. Choose after comparing the complete pack, rather than deciding solely from an empty-box photo.
Turn the guide into a packaging brief.
Share your product dimensions, artwork, quantity per design and delivery destination. We’ll help compare practical material and production routes.
Request a packaging quote →Reference photos illustrate packaging applications. Catalogue photos show listed Stowliva options. Final material claims and performance must be confirmed for the approved specification.