
Paper & print
Custom Tissue Paper: What Size Do You Need? 6 Buying Checks
Choose sheet dimensions, paper stock, logo patterns and sample checks that work around your real product.
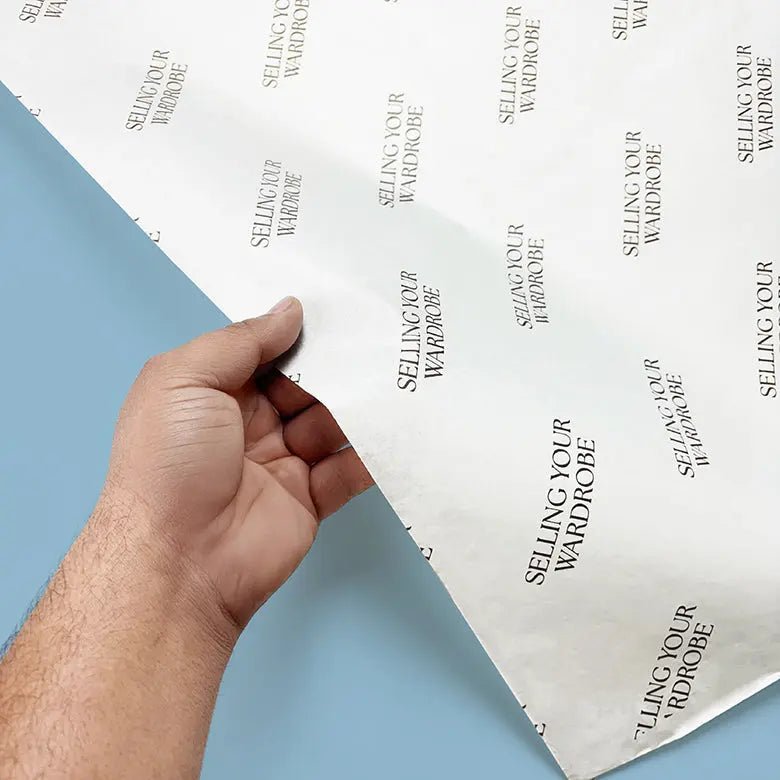
1. Decide what your custom tissue paper needs to do
Custom tissue paper gives a brand a flexible printed layer around a product or inside a box. To order it well, specify the sheet size, paper weight, base colour, print pattern and packing method together. A design that looks good as a flat artwork file may fold awkwardly or place the logo out of sight once the product is wrapped.
Start with the task: lining a box, wrapping a garment, separating accessories or adding a presentation layer around a gift. These uses need different amounts of paper and different folding sequences. Tissue can help separate surfaces, but a fragile product still needs a suitable protective system for delivery.
Browse the tissue paper collection to compare custom and stock routes. If you are still testing a product launch, a stock colour with a brand seal can help establish the packing method before you commit to printed sheets.
2. Measure sheet size around the packed product
Use a plain sheet to make a wrapping trial with the actual product. Note the overlap needed for the seal, the folds at each end and the paper visible after the pack is placed in its outer box. Avoid choosing a large sheet just because it feels generous: excess paper can produce bulky corners and make packing slower.
For a simple wrap around a rectangular product, the sheet must accommodate the relevant product dimensions, its thickness and a closing overlap. This is only a starting geometry. An irregular product, a box liner or a decorative fold changes the requirement, so confirm the final cut size with a physical trial.
Record dimensions in one unit and label them clearly as sheet width × length. Tell the supplier whether the logo orientation follows the long or short edge. For rolls, record width, roll length and how the fulfilment team will cut the paper. Review the listed custom tissue paper roll as a separate packing format rather than treating a roll and pre-cut sheets as interchangeable.
Approve the fold as well as the file. Put a paper mockup around the product, mark the visible panels, then position the pattern to suit that result.
3. Compare paper weight, opacity and base colour
Paper weight is commonly expressed in grams per square metre, or GSM. It helps describe the stock, but it does not tell you everything about softness, opacity or strength. Compare samples of the actual stock and print combination. A lightweight sheet can create a soft wrap; a heavier sheet may feel more substantial but fold differently.
Base colour changes how printed ink appears. A logo on white tissue can look different from the same artwork on kraft or coloured tissue, particularly when the sheet overlaps itself. Ask how the proposed print method will reproduce your brand reference on that specific stock.
Evaluate the white custom tissue paper and custom kraft tissue paper routes with the intended product underneath. For pale textiles or delicate finishes, include colour-transfer and handling checks in the sample brief rather than approving appearance alone.
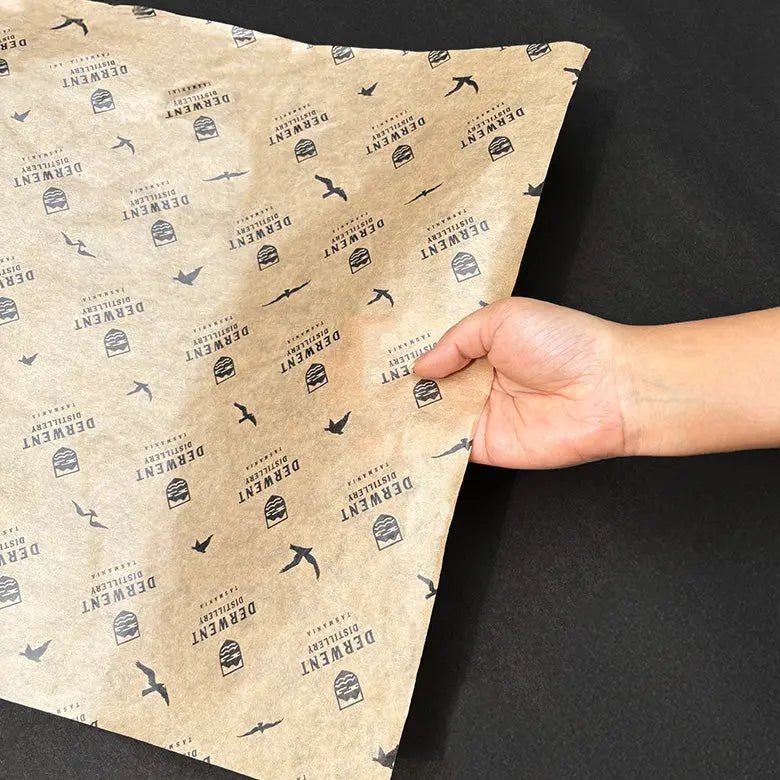
4. Plan logo scale, repeat and print coverage
A repeating logo pattern is often useful because customers can see part of the branding even when the sheet folds in different places. Decide on logo size, spacing, orientation and the amount of blank space. Tiny text or fine lines may be difficult to reproduce cleanly on a lightweight, textured sheet.
For a repeat design, ask where the pattern starts and whether the final cut sheet is expected to show partial logos along its edges. For a centered layout, confirm alignment tolerances and how the sheet will be folded. These are different design approaches and should not be approved against the same expectation.
Full background coverage, metallic effects and a simple single-colour repeat can involve different production routes. Compare the multi-colour printed tissue paper option when your design requires several colours, and ask the supplier to confirm the achievable result before promising an exact match on every stock.
Send a clean logo file, colour references, the intended sheet dimensions and a mockup of the wrapped product. Follow the artwork preparation guide, then work to the supplier’s confirmed file requirements for the selected print process. Keep important text away from planned fold areas.
| Item | What to record |
|---|---|
| Sheet and stock | Finished size, GSM, base colour and format |
| Pattern | Logo dimensions, repeat spacing and orientation |
| Colours, coverage and production method | |
| Packing | Fold sequence, seal position and sheets per product |
5. Check a printed sample in real use
A digital proof is useful for layout, spelling and colour references. It cannot show exactly how the paper feels, how the ink looks through overlapping folds or whether a printed surface transfers onto your product. Approve a physical sample for the points that matter to the order.
Wrap several items using the proposed sheet. Check tearing at tight corners, ease of folding, logo visibility and consistency between packers. Inspect the paper before and after the relevant storage and handling conditions. If the product needs more protection, compare protective wrapping materials instead of adding more tissue and hoping it performs as cushioning.
Coordinate the closure with packaging stickers and labels. Test the adhesive on the selected tissue: a strong seal can hold the wrap neatly but may tear the sheet when opened. Decide whether that opening behaviour is appropriate for the customer experience.
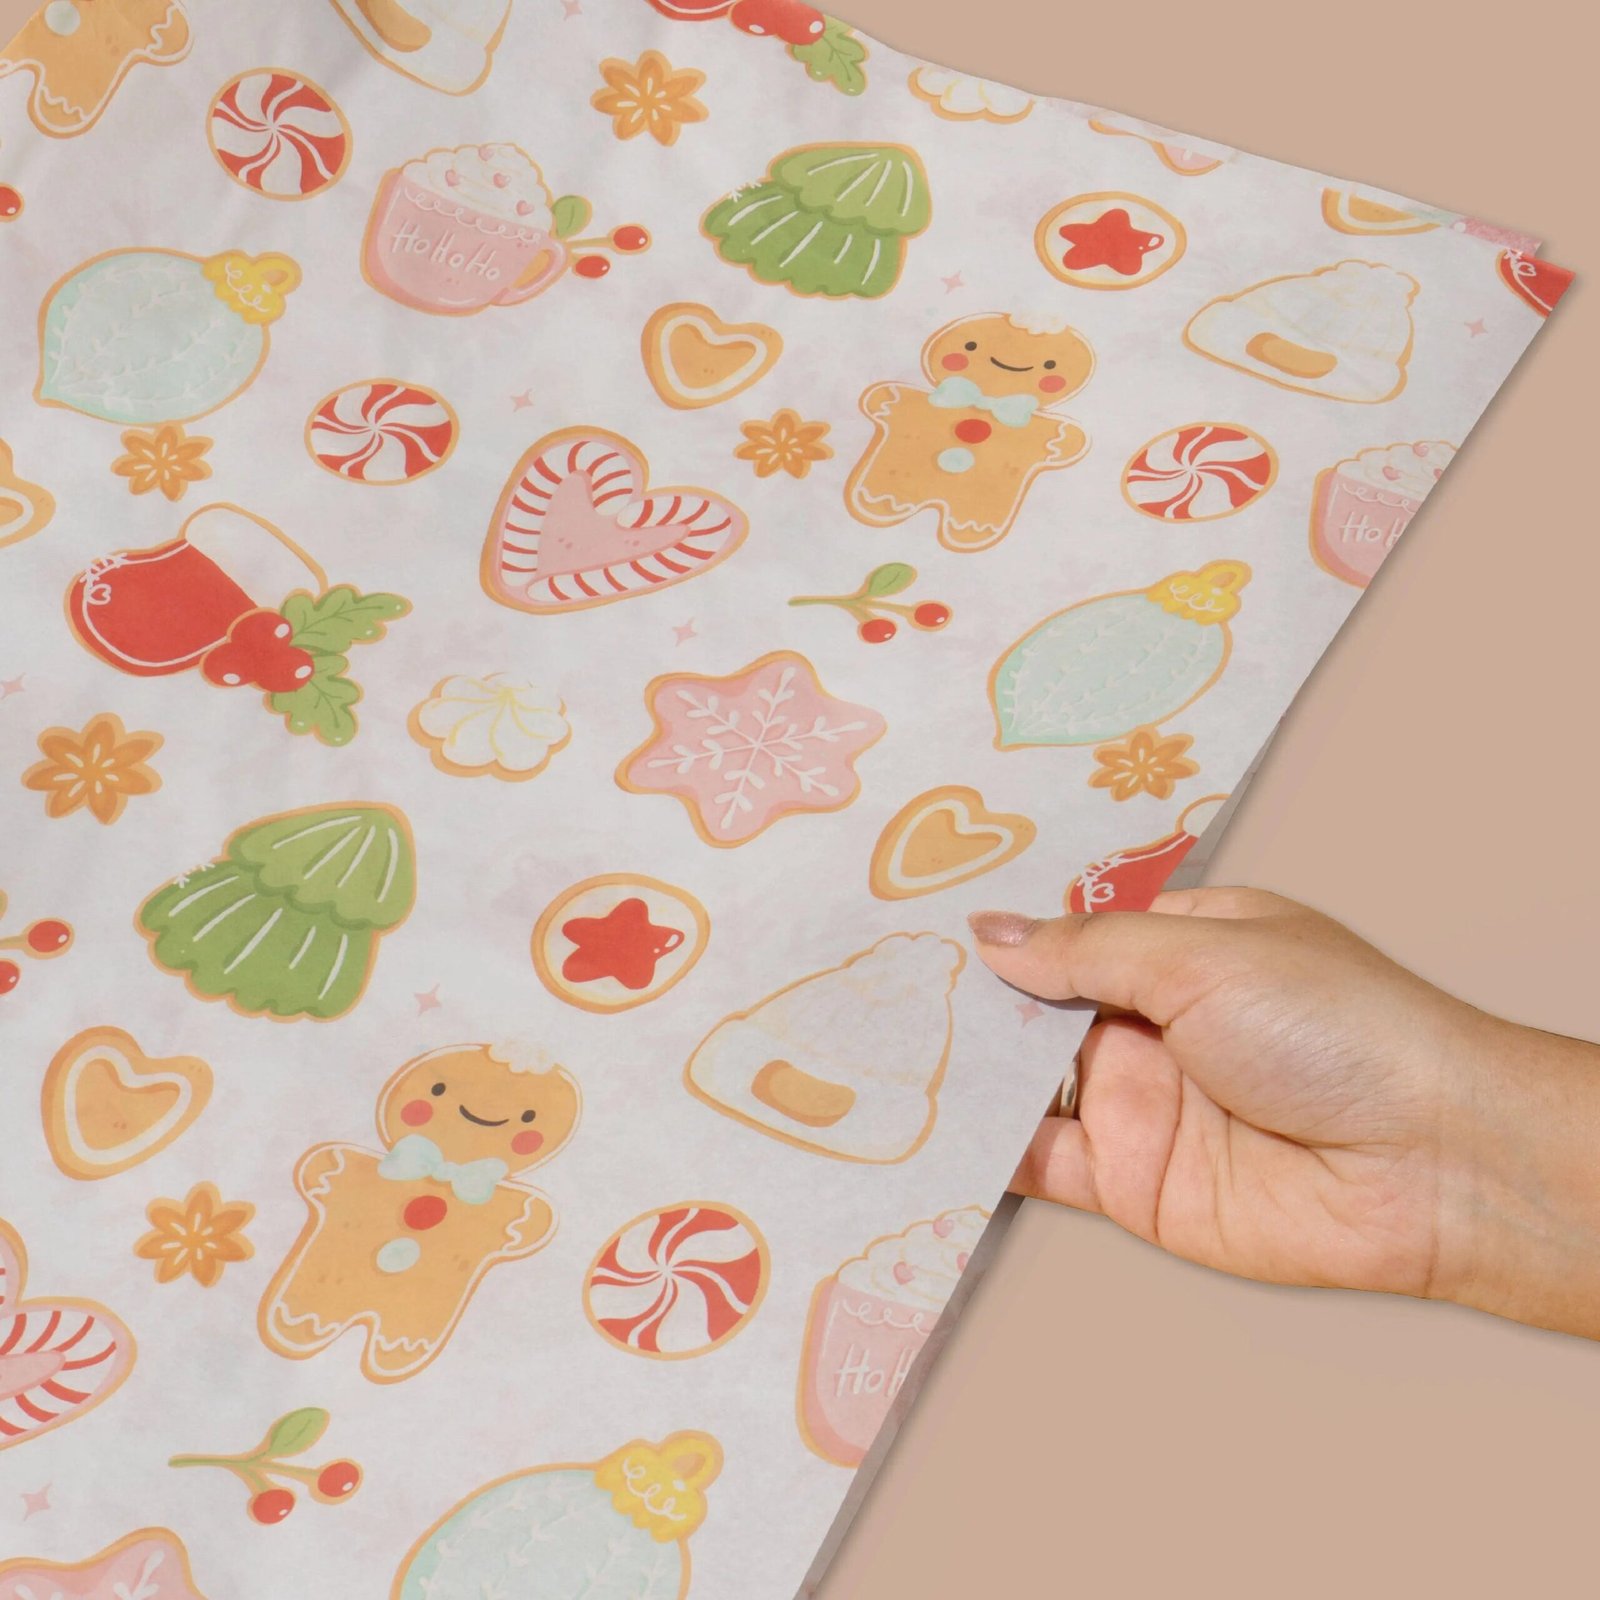
6. Make the order easy to repeat
Keep one approved specification containing the stock, sheet size, artwork version, colour references, repeat layout, quantity per design and packing arrangement. Ask for the applicable minimum order and production timing for that exact specification. A general starting quantity should not be assumed to apply to every finish or print route.
For an illustrative brand shipping 200 orders a month with one sheet per order, the starting usage estimate is 200 sheets before packing waste, sample checks or growth. Use your own order mix to decide how much to buy. Keep seasonal messages separate from a long-life brand pattern if they would make remaining stock difficult to use.
Custom tissue paper questions
Is custom tissue paper a protective shipping material?
It is principally a wrapping and presentation layer. It may separate surfaces, but it should not replace a tested cushioning system for breakable or impact-sensitive products.
Can printed tissue paper go into paper recycling?
Acceptance depends on the finished material and the local collection system. Check with the relevant recycler. The EPA’s guidance also encourages reuse of tissue and other gift packaging; a paper-based appearance is not a universal recycling instruction.
What information makes a quote useful?
Send sheet or roll dimensions, desired stock, base colour, artwork, print coverage, quantity per design, destination and required date. Add a wrapped-product mockup so the supplier can understand the intended result.
Turn the guide into a packaging brief.
Share your product dimensions, artwork, quantity per design and delivery destination. We’ll help compare practical material and production routes.
Request a packaging quote →Reference photos illustrate packaging applications. Catalogue photos show listed Stowliva options. Final material claims and performance must be confirmed for the approved specification.