
Clothing branding guide
Hang Tag Design: What Makes a Tag Clear and Print-Ready?
Make a clothing hang tag that communicates clearly, suits the garment and is ready to print.
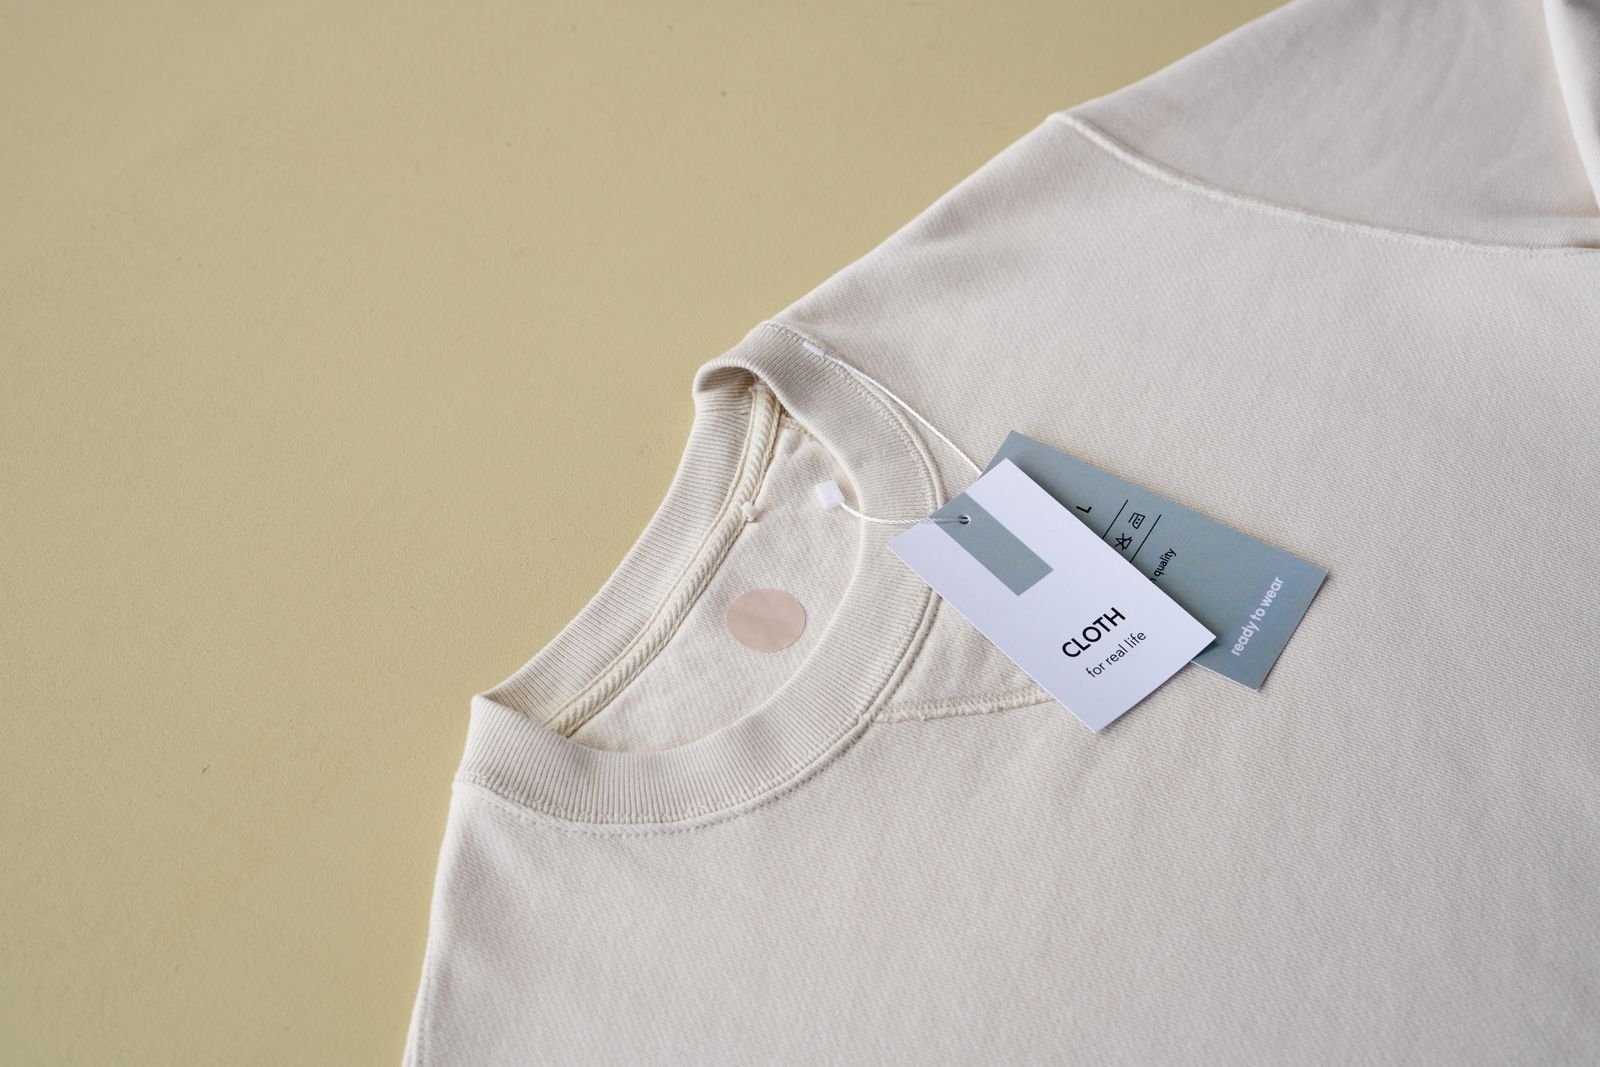
A customer picks up a garment and looks at its hang tag. In a few seconds, they should be able to recognize the brand, understand one useful detail about the product, and find any information they need to buy it. That is the real test of hang tag design. A beautiful card that hides the size, covers the garment, or cannot be scanned is not doing its job.
This guide shows you how to design your own hang tag, from the first message and paper choice to a print-ready file and physical sample. It is written for apparel brands, but the same process works for accessories and other retail products.
Introduction to Hang Tag Design
Why hang tags matter for branding
A hang tag is a small point of contact between your product and the shopper. Its logo, material, color, and wording can make a collection feel consistent across different garments. It can also answer a specific buying question: What size is this? What makes this piece different? Where can I learn more?
Think of the front as a sign and the back as a helpful reference. A front might show the brand name and one product benefit. The back can carry a SKU, price sticker area, barcode, short story, or QR code. You do not need all of them. Choose what the shopper and the retailer will actually use.
Two objectives: inform and reinforce identity
First, make the essential information easy to find. Arrange it in a clear order: brand or product name, the most useful product detail, then supporting information. Leave enough space around each element to read it at arm's length.
Second, make the tag feel like it belongs to the product. Repeat a recognizable type style or brand color, or choose a paper texture that matches the garment. Consistency matters more than squeezing in every visual effect.
For clothing sold in the United States, check what belongs on the garment's required labels as well. The FTC's textile and wool labeling guide explains fiber, origin, and business identity rules, including special rules when a hang tag names a fiber. Its care labeling guide addresses care instructions. A removable marketing tag should not be assumed to replace the required garment labels.
Key Elements of Hang Tag Design
Choosing the right material
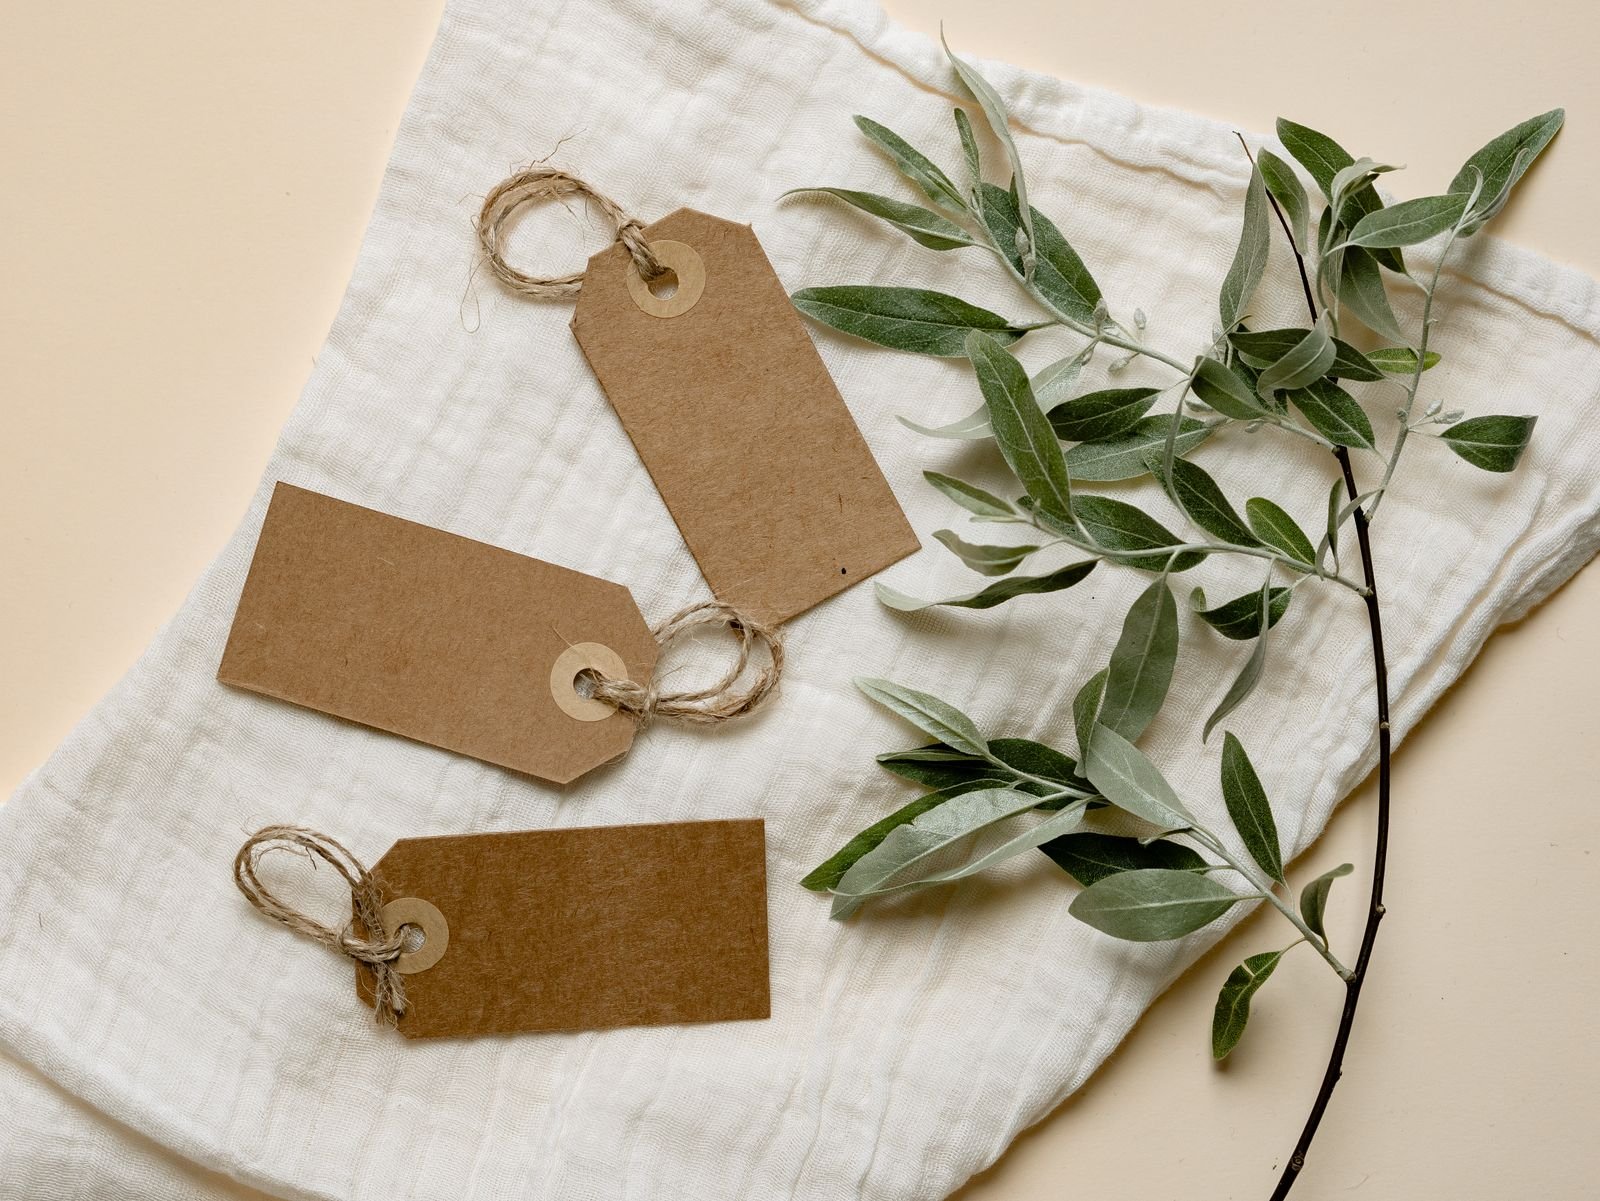
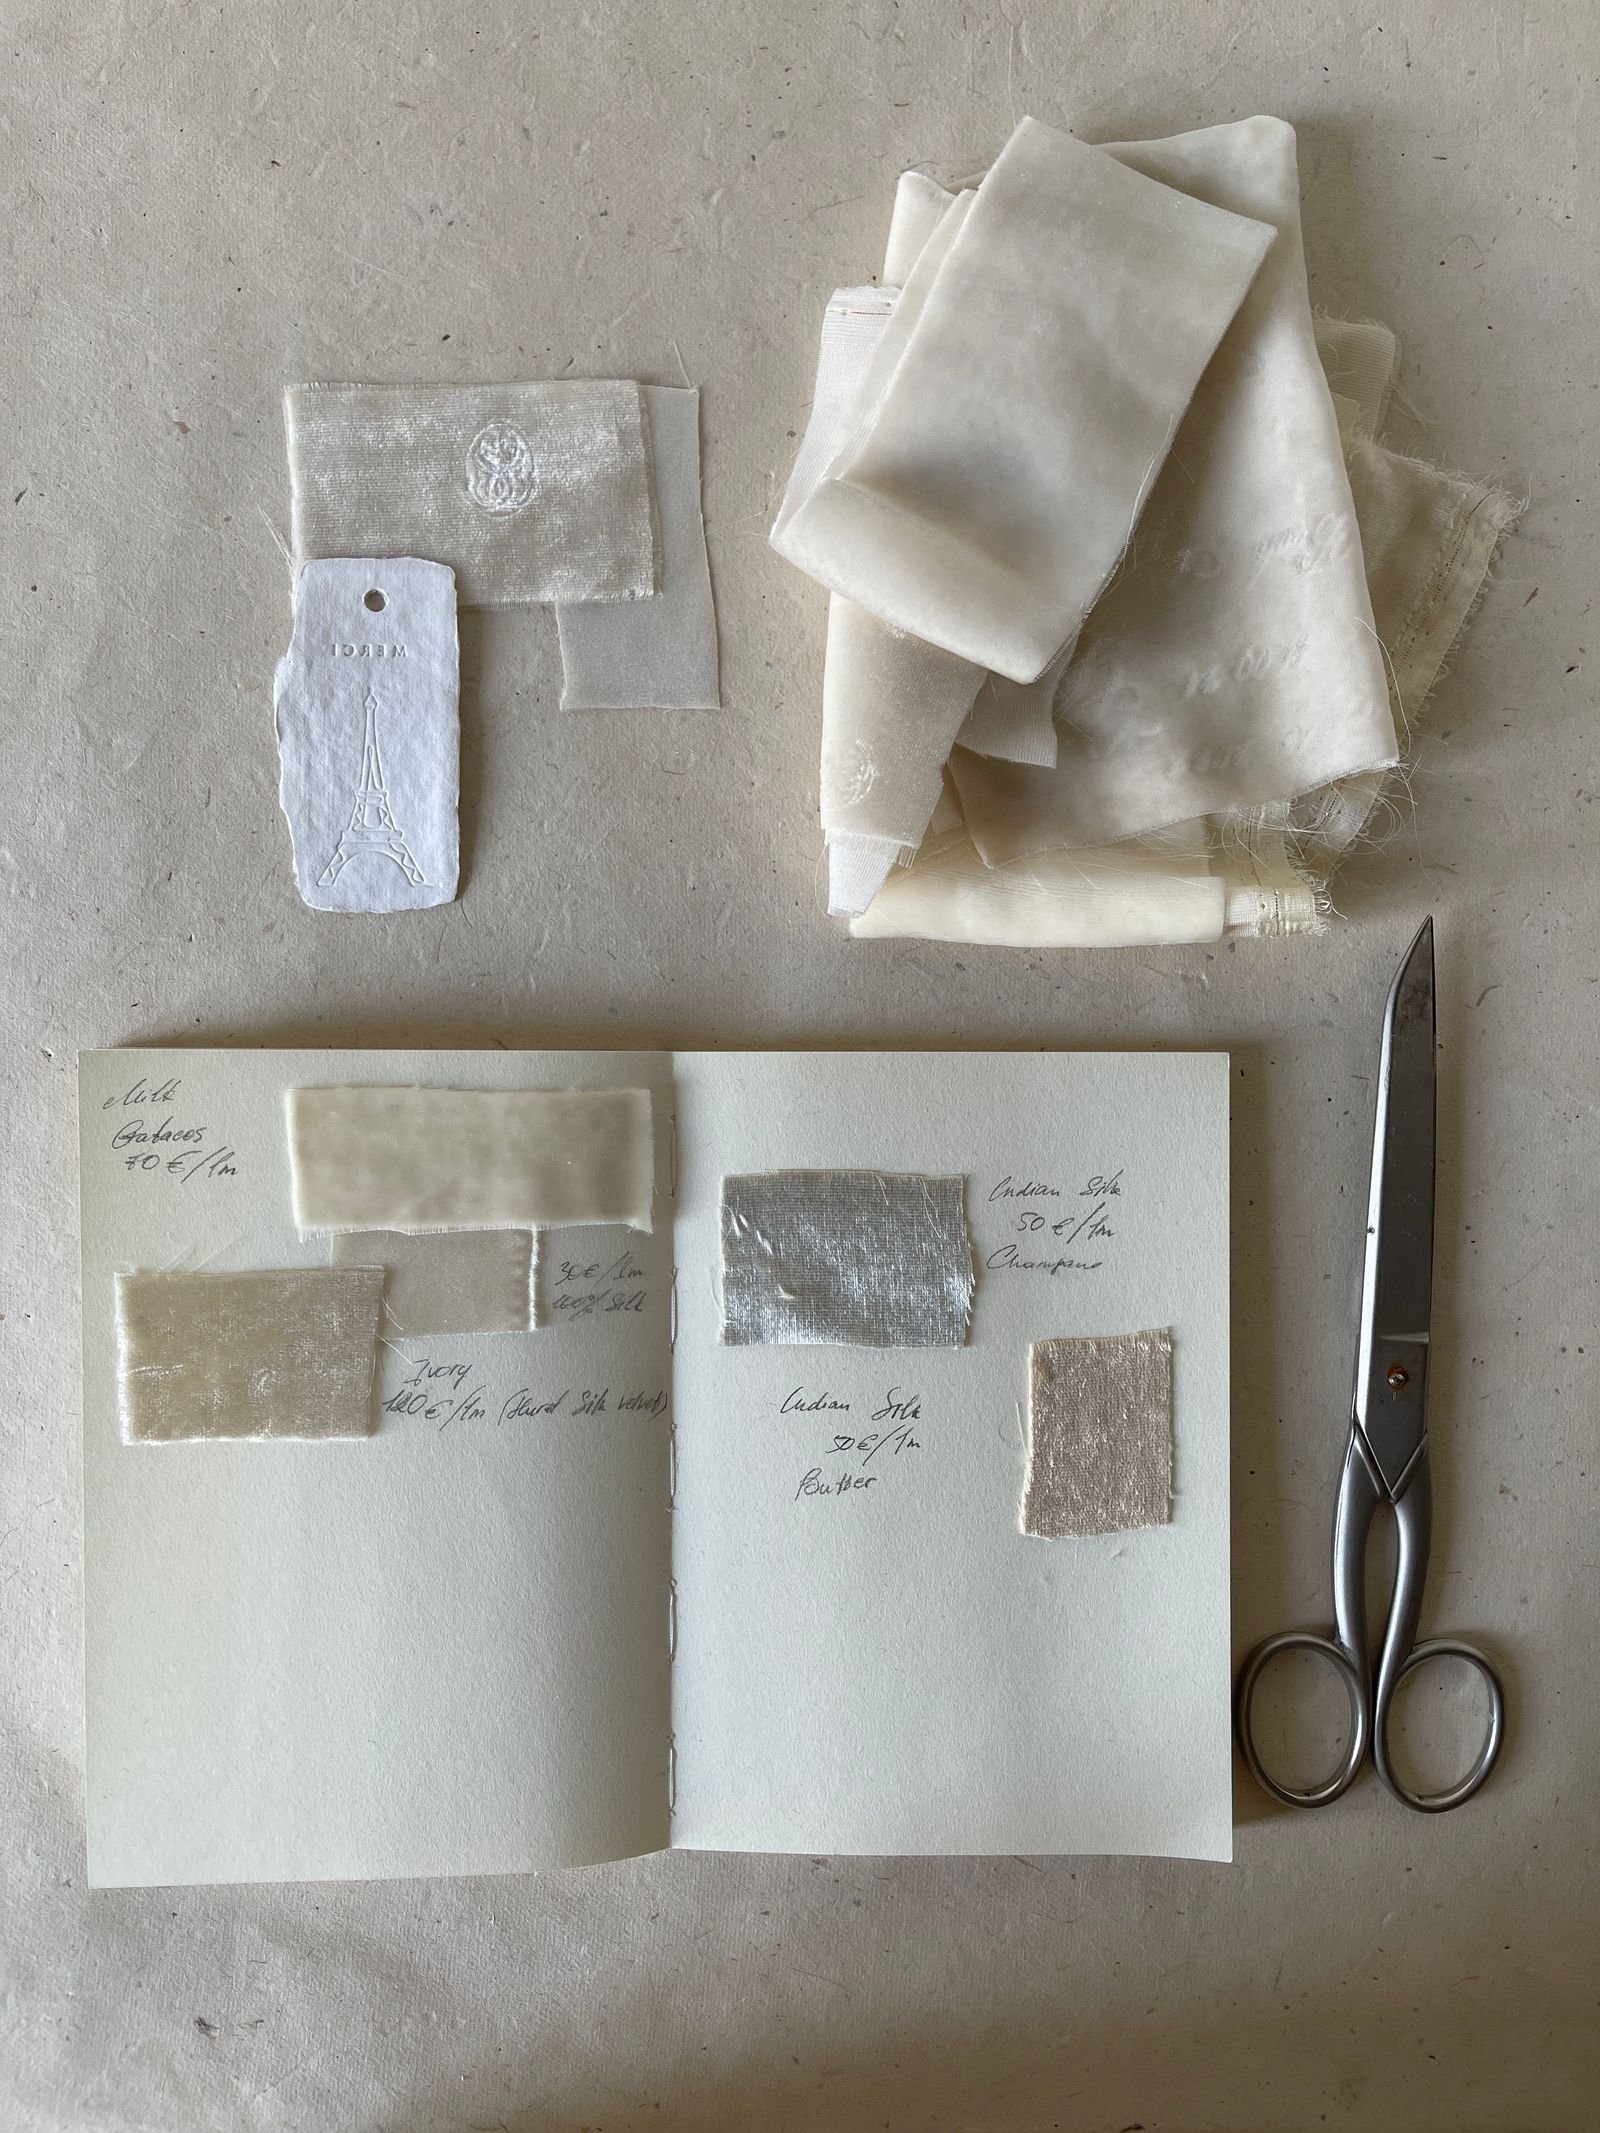
Start with the garment and the print. Smooth white card may support fine type and precise color; kraft paper gives a different base color and more visible paper character. Textured stock adds tactile detail, but a deep texture can make small lettering or fine lines harder to reproduce. Ask for printed samples on the proposed stock before committing.
Compare the tag's stiffness, edge finish, surface marking, and attachment hole. A thicker card is not automatically better if it weighs down a light garment. If you are making a recycled-content or certification claim, request documentation for the exact finished tag. The FTC's Green Guides summary explains how environmental claims should be qualified; FSC's trademark guidance explains controlled use of FSC marks.
Typography and font choices
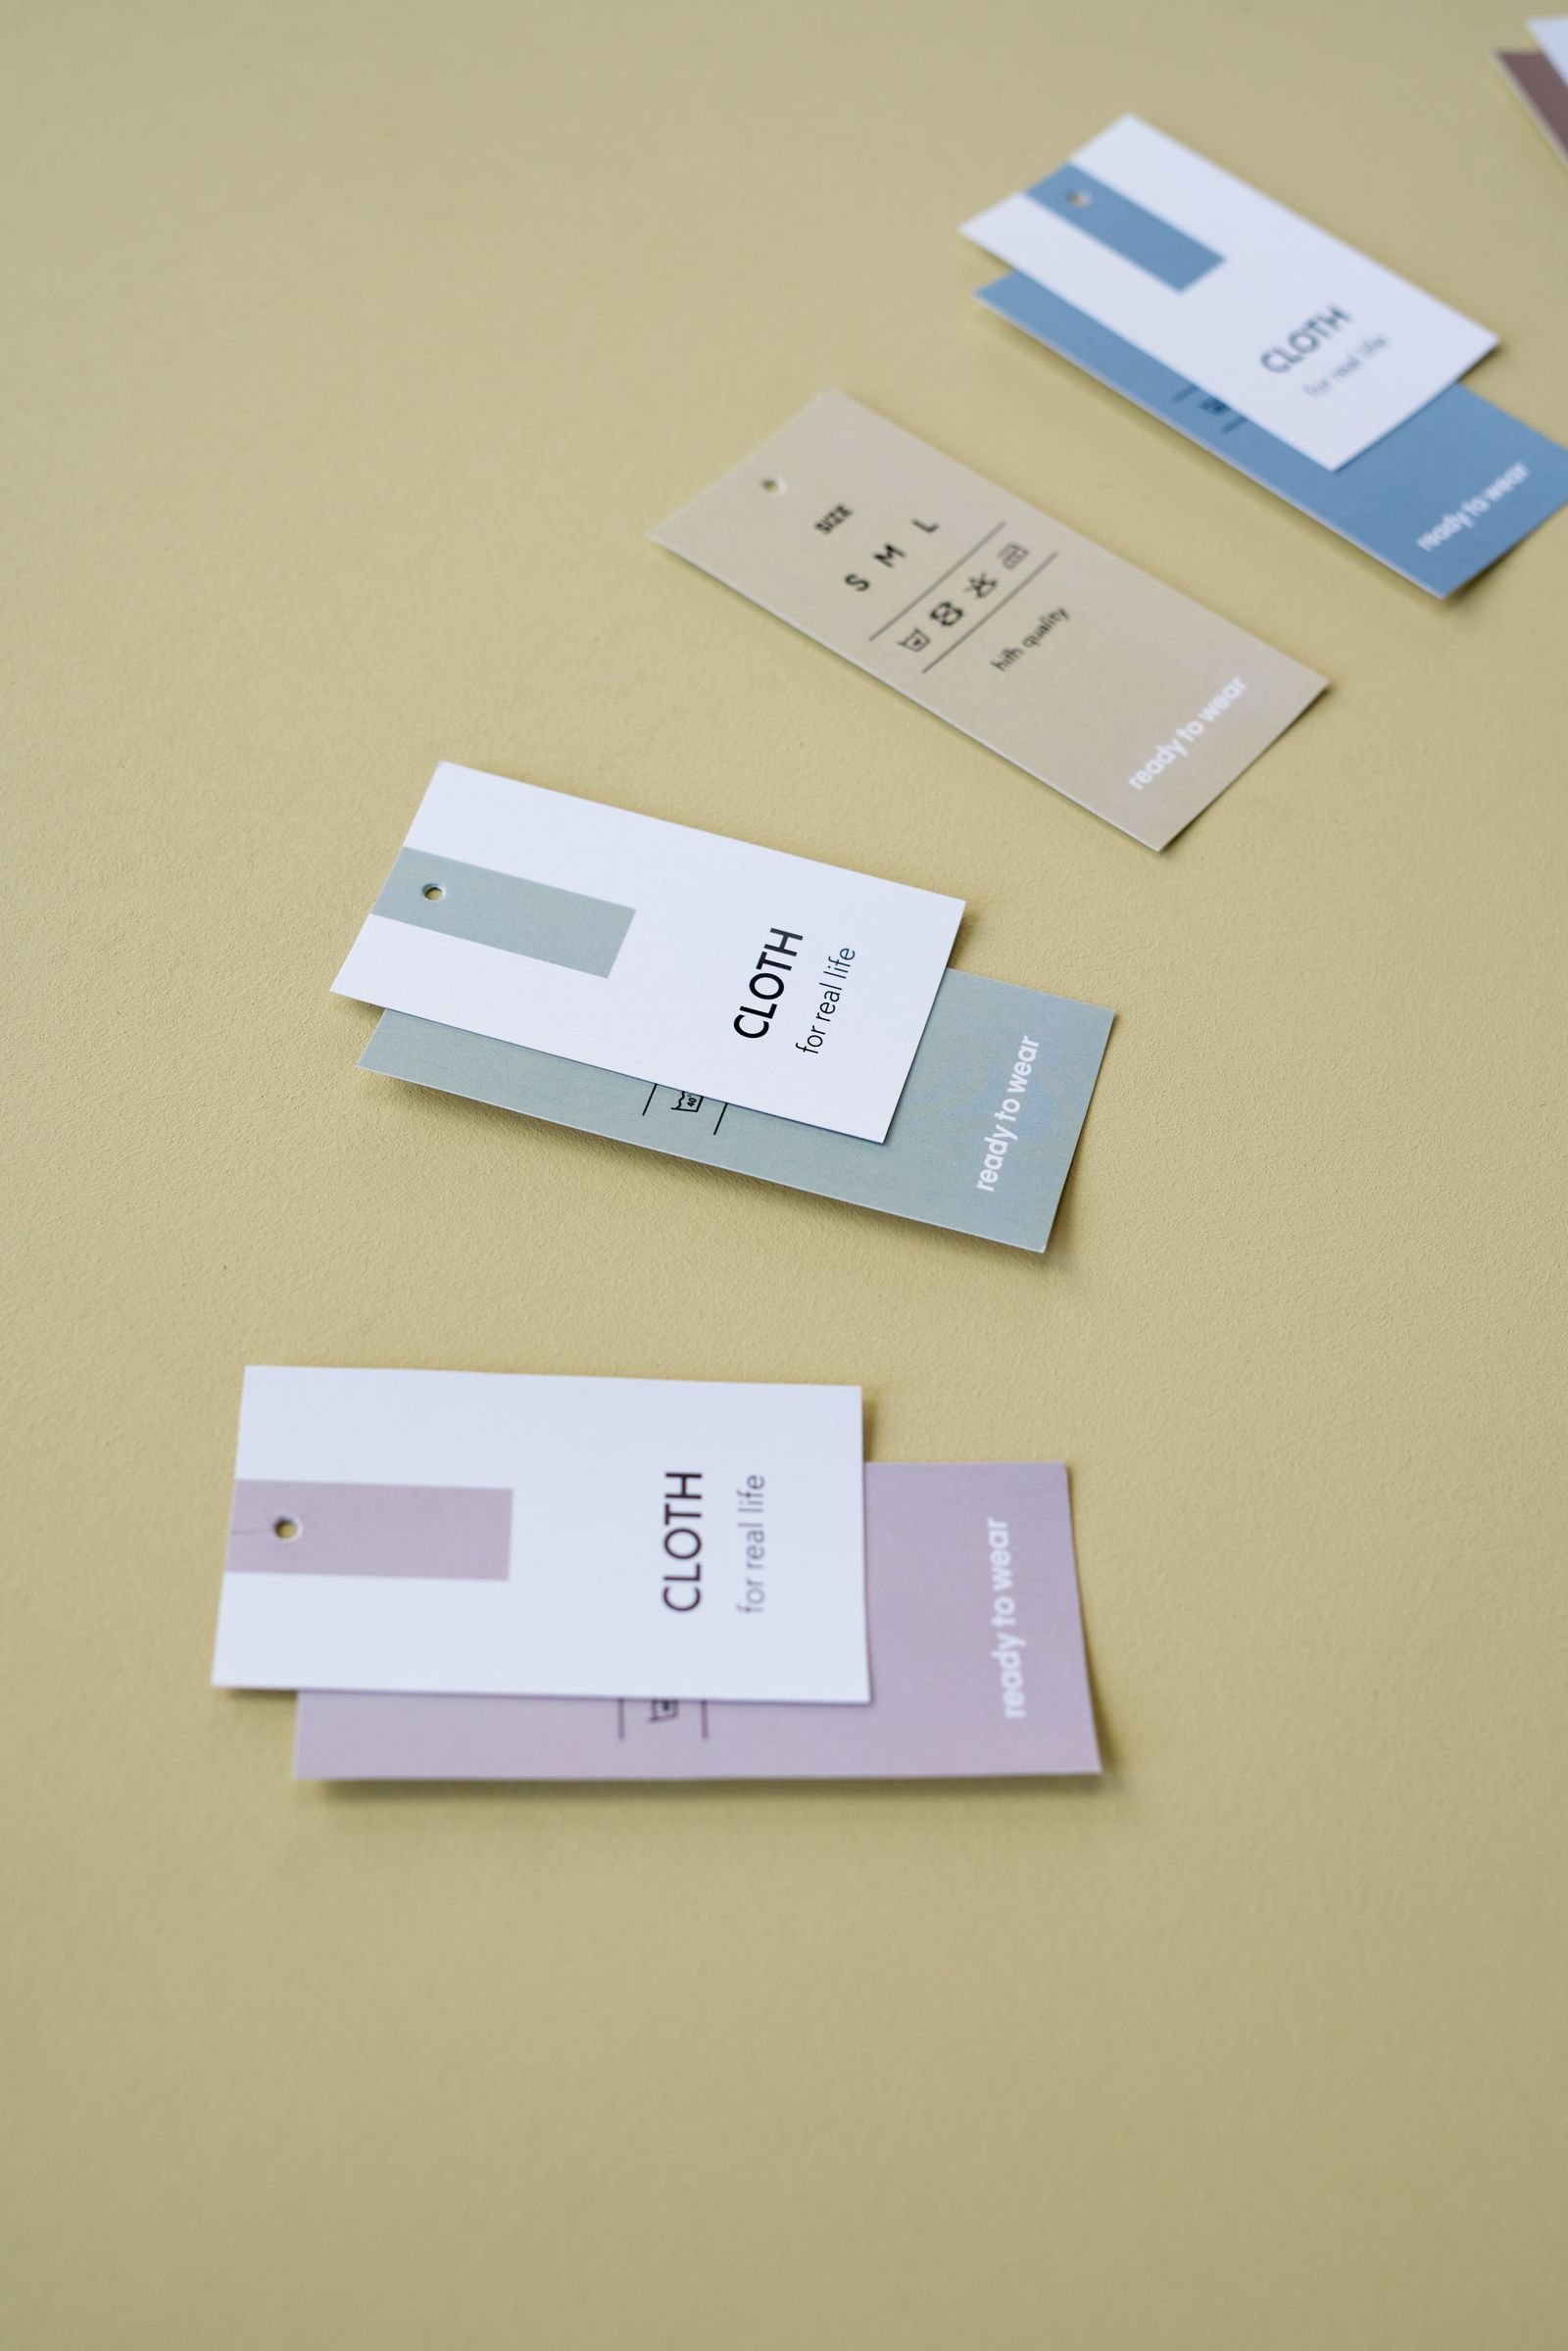
Give the brand name or product name the most visual weight. Set secondary details, such as a short description, in a simpler style. Check the smallest text on a printout at actual size; a screen zoom can make tiny letters look more readable than they will be in a store.
If the front has little space, move the price, SKU, or extended story to the back. Avoid putting important copy near the punched hole or trim. Confirm with your printer whether fonts should be outlined or supplied with the artwork.
Colors and graphics
Use color to guide attention, not to fill every available area. A restrained palette can keep the product name clear; a bright accent can highlight a collection or limited release. Color associations are context dependent, so test a palette against your garment and your existing brand materials instead of assuming one color sends the same message to every shopper.
An illustration, pattern, or close-up product image can carry a brand story when it adds information or recognition. Keep a clear area for practical details and codes. Ask the printer to proof the artwork on the chosen paper, because ink can look different on white, kraft, and textured stocks.
Designing Your Own Hang Tag
Essential design tools
You need three things: a layout tool, your printer's dieline, and a way to check the result on a real product. A vector editor such as Adobe Illustrator is useful for precise type, cut lines, and production artwork. A mockup tool can help you compare concepts, but it cannot show how the finished paper bends, how the string sits, or whether a code scans. The printer's dieline should define the finished cut, hole, bleed, and safe area. Adobe's guide to printer's marks and bleeds explains why artwork that reaches the edge must extend beyond the trim line.
Step 1: Define your brand message
Write one sentence describing what the customer should notice first: for example, “a soft everyday tee with a relaxed fit.” Decide which words belong on the tag and which belong on the product page. Sketch a front and back with a clear information order before choosing a font or finish.
Step 2: Select appropriate dimensions
Print a plain paper outline at 100% scale and attach it to the smallest and largest garments in the range. Check whether the tag hides a detail, twists on the hanger, or disappears behind a fold. Record the finished width and height, shape, corner treatment, hole position, and string or fastener. Leave room for variable information if one design serves several SKUs.

Step 3: Add the essential elements and prepare the file
Place the logo, product information, and any code according to the hierarchy you planned. Keep text within the printer's safe area and extend edge-to-edge colors or images into the required bleed. If a barcode is needed, give it sufficient clear space and test the printed sample with the scanner used by your retailer. GS1 US's barcode placement guidance covers quiet zones, contrast, and placement.
If you add a QR code, state what the shopper will get from scanning it—such as a fit guide or product story—and test the destination on a phone. Keep the destination available for future reorders. Finally, proof the exact stock, finish, hole, string, and artwork together; a digital preview is only one step.
Best Practices for Hang Tag Design
Balance appearance with function
Before approving a design, ask five questions: Can someone read it at actual size? Does it look right on the garment? Is the attachment secure and easy to remove? Will the barcode or QR code work after printing? Can the same specification be reproduced on a later order?
The best hang tag design for your brand is the one that answers those questions while still feeling distinctive. If a special shape or finish makes information harder to read, simplify the format and let the paper, typography, or message carry the character.
Give the call to action one clear job
A call to action is optional. If the tag already needs a barcode and price, avoid adding a vague “Follow us” line. If you have a helpful next step, be specific: “Scan for the fit guide” or “See the story behind this fabric.” Make sure the destination actually delivers that promise. Do not place a QR code so close to the hole, fold, or edge that it becomes difficult to scan.
Examples from apparel brands
Patagonia: test what shoppers need. Design agency Capsule describes its hang tag research with Patagonia: it tested alternative information hierarchies and prototype concepts with shoppers, including brand, lifestyle, environmental, and technical approaches. The practical lesson is to test the tag's message on the sales floor, rather than decide solely from a design presentation. Capsule describes a refined system across product lines; its page does not provide a conversion rate for the tags.
Eddie Bauer: connect the tag to deeper product information. In a case study published by its QR technology partner Flowcode, Eddie Bauer used dynamic codes on hang tags to link shoppers to product details that would not fit on the card. The useful design idea is a simple printed front with a specific digital follow-up. Because the account comes from a technology provider, treat its performance figures as that provider's reported results.
Conclusion
Effective hang tag design begins with one clear message, then supports it with the right size, paper, typography, and production details. Draw the hierarchy first, attach a full-size mockup to the garment, prepare artwork to the printer's dieline, and approve a physical sample before production. Experiment with color, shape, and storytelling, but keep the tag useful at every step.
Ready to design your own hang tags? Send Stowliva the garment type, finished size, artwork, stock preference, attachment method, and quantity per design. Request a custom hang tag quote and ask for a physical sample before approving the full run.
Turn your hang tag idea into a production brief.
Send your garment type, finished size, artwork, paper preference, attachment method and quantity per design.
Request a custom hang tag quote →The five photographs are licensed illustrative stock images credited to their photographers. They do not show Stowliva products or client work.