Paperboard sleeve sourcing guide
Custom Packaging Sleeves: Will Yours Fit? 9 Checks for Print
Fit the real product first, then lock the board, dieline, barcode, finish and full-packout test.
Short answer: Buy custom packaging sleeves by fitting the real product first, then locking the paperboard, grain direction, dieline, print, finish and packing method. A sleeve should slide on consistently, stay square in transit, scan at retail and separate cleanly from the product when that is part of the disposal plan.
Packaging sleeves—also called paper belly bands—can turn a plain carton, tray, soap bar, textile bundle or food container into branded retail packaging with less board than a second full box. But a sleeve that is even slightly wrong can bow, slip, split, hide required copy or jam a packing line. Semrush identified custom packaging sleeves as a low-difficulty commercial keyword, so this guide focuses on the nine decisions buyers make before approving print.
Start with the primary structure: Stowliva’s custom carton boxes, custom soap boxes and custom apparel boxes can all inform the sleeve dimensions. A sleeve is part of that system, not a decoration floating above it.
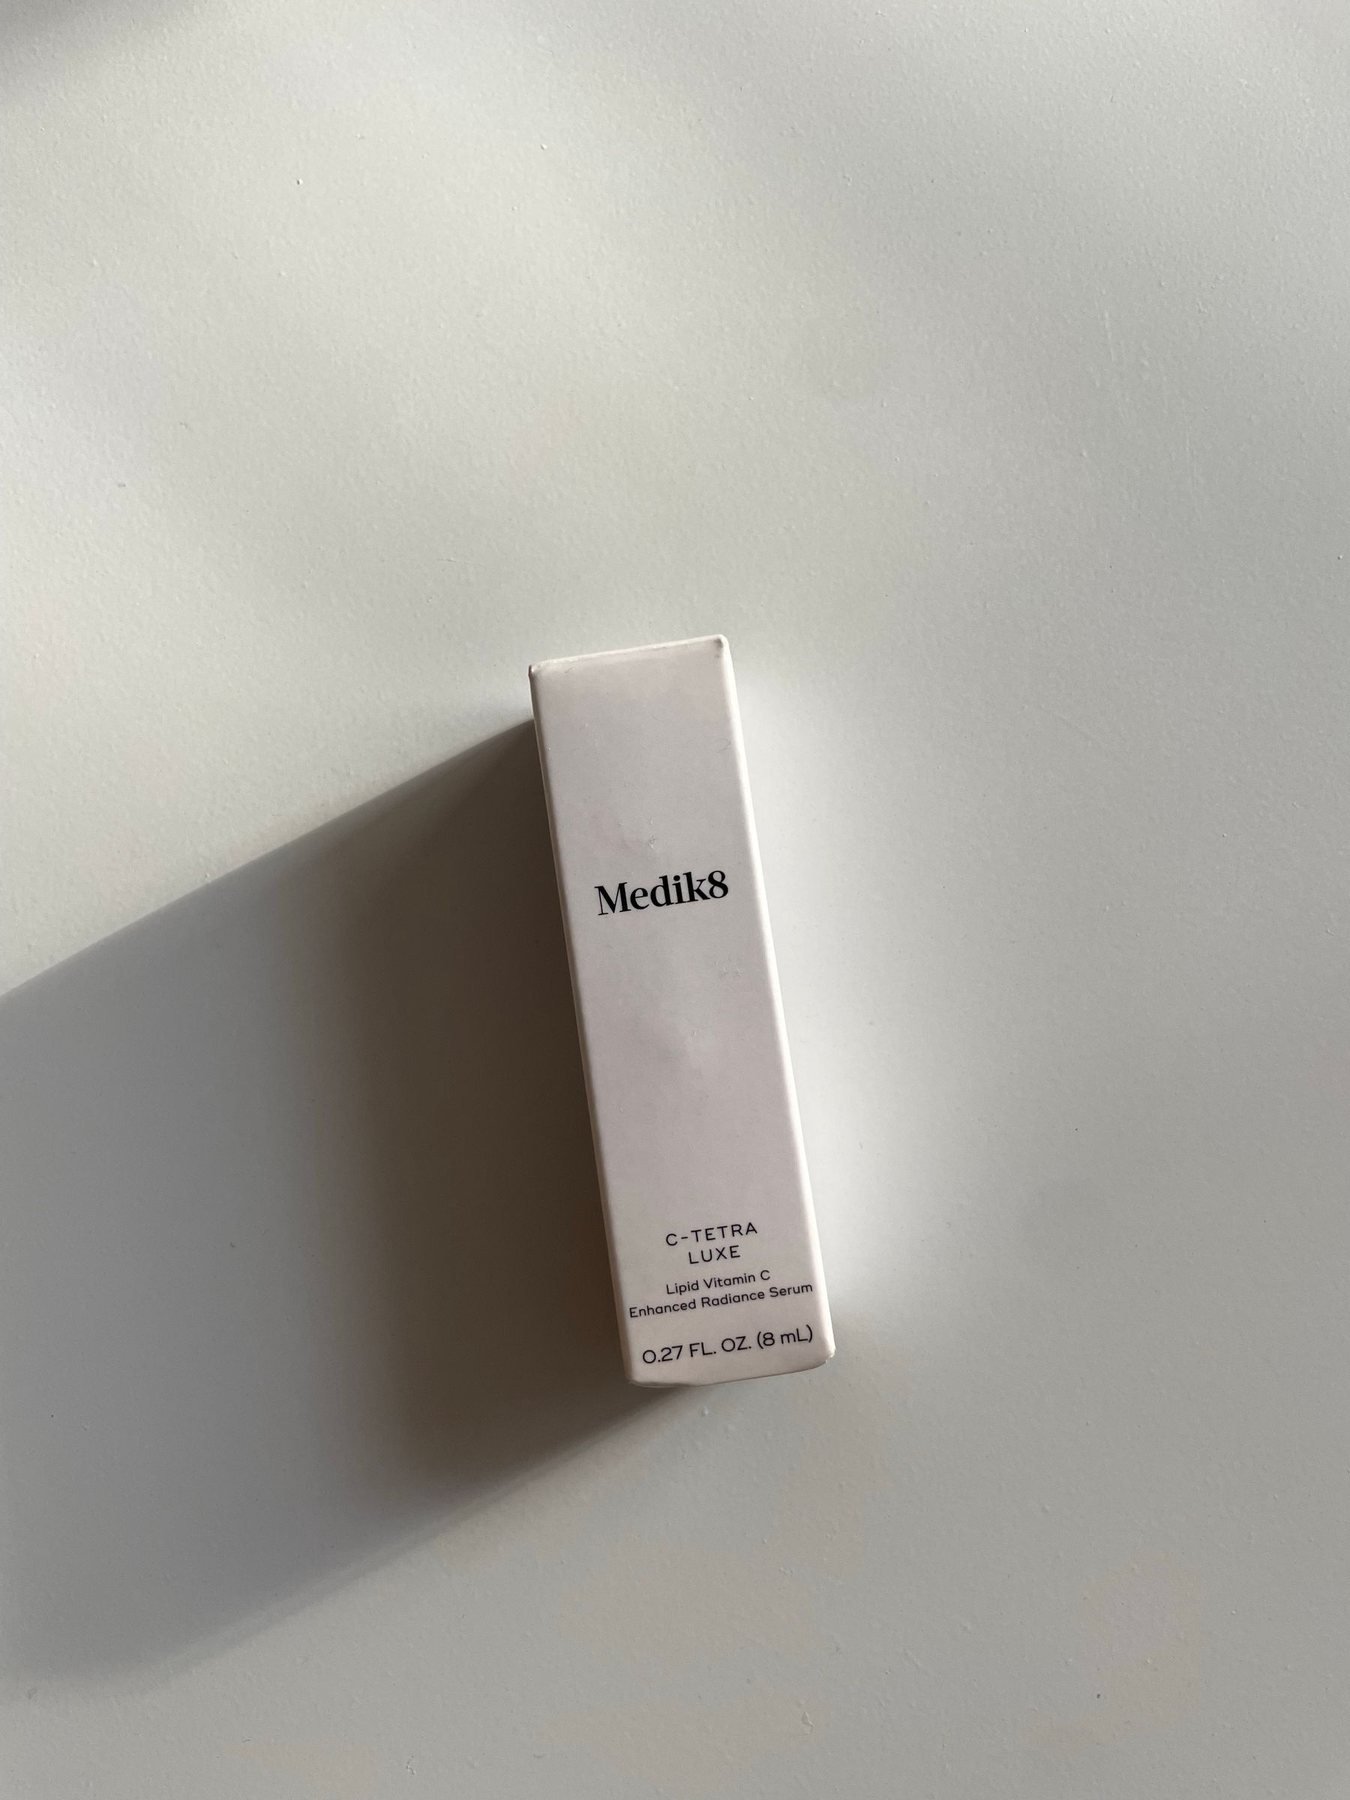
Custom packaging sleeve formats compared
The best format depends on the surface it wraps, how customers open it and whether the packer applies it by hand or machine. Compare the routes below before asking a printer for a dieline.
| Format | Good fit | Advantage | Watch-out |
|---|---|---|---|
| Glued paperboard sleeve | Boxes, trays and firm rectangular products | Clean continuous band and fast application after setup | Joint strength and inside dimensions must be controlled |
| Locking-tab sleeve | Short runs, hand packing and products needing easy separation | No permanent glue joint | Tab can spring open or mark the product |
| Open belly band | Soap, textiles, stationery and bundled goods | Simple, material-efficient presentation | Needs suitable overlap, seal or label placement |
| Sleeve plus tray | Cosmetics, gifts, food and premium retail sets | Strong reveal and large print area | Fit, friction and board grain must work across both pieces |
1. Fit the production product, not a nominal dimension
Start with several real units from the normal tolerance range. Measure the smallest and largest product or primary box, including labels, seams, lids, shrink film and any bulge after filling. Add only the clearance needed for reliable assembly. Too much clearance lets the sleeve slip or rotate; too little makes packing slow and creates edge cracking.
Test the fit after realistic conditioning because paperboard and products can move with humidity. Slide the sleeve on in the direction used by the packing team. Note force, alignment and where corners rub. If the sleeve wraps a flexible bundle, define the product compression before measuring; “medium T-shirt set” is not a repeatable dimension.
When the primary pack is still changing, freeze that first. Browse custom cosmetic boxes, custom retail boxes and custom gift boxes to compare the structures a sleeve may need to fit.
2. Choose paperboard by stiffness, caliper and grain
GSM alone does not describe how a sleeve will fold or resist bowing. Ask for the board grade, caliper, stiffness, coating and grain direction. A long sleeve with the wrong grain can fight the folds, spring open or crack at scores. A board that is too light may look wavy; one that is too thick may be difficult to wrap around a small radius.
Request unprinted white samples in two plausible board options. Score and assemble them around the real product. Check edge quality, spring-back, corner whitening and whether the joint creates a visible bump. If recycled content or responsible fiber sourcing matters, specify the exact claim and chain-of-custody route rather than choosing a brown color as a visual shortcut.
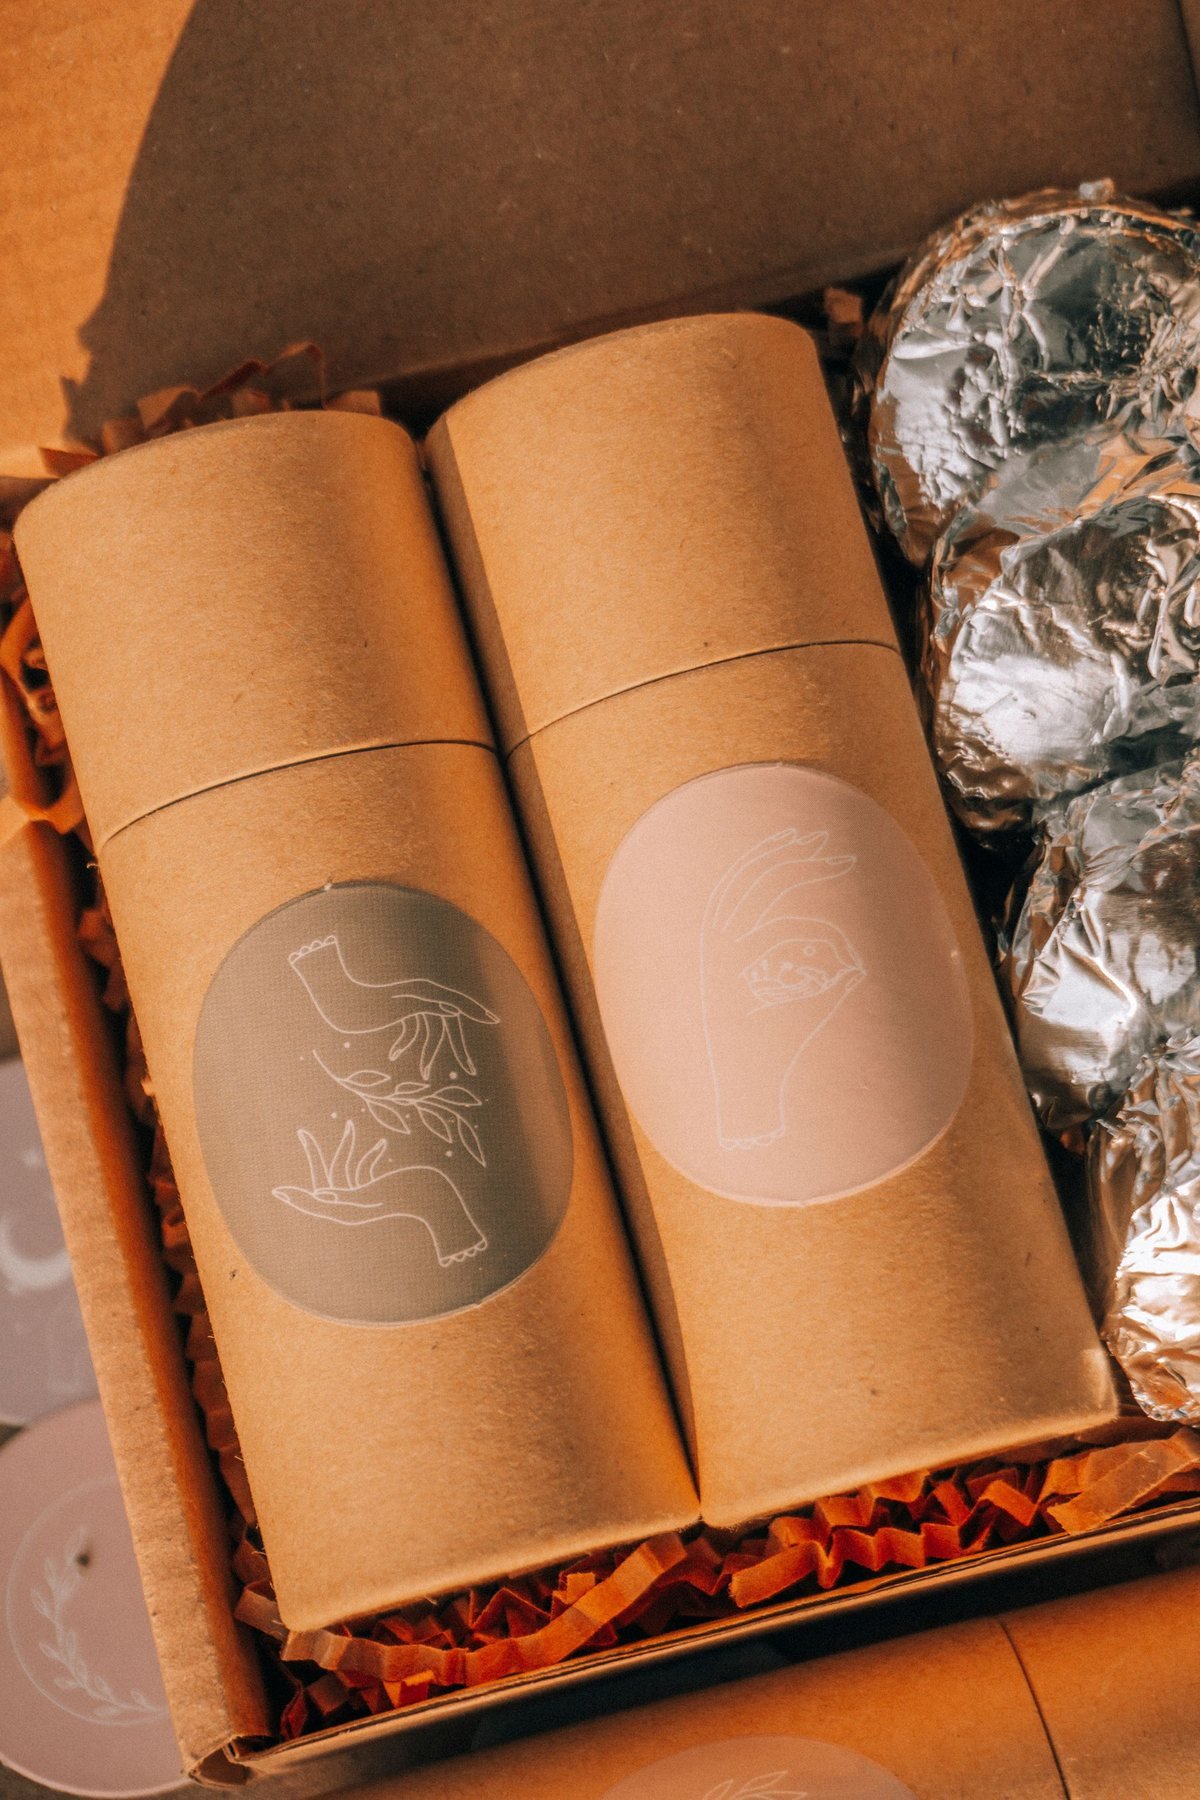
3. Build the dieline around folds, bleed and the glue zone
A sleeve dieline needs more than the visible panels. It includes scores, cut lines, overlap or glue flap, tolerances, bleed and safe zones. Essential copy should stay away from folds and the joint. A full-bleed background must extend beyond the trim according to the printer’s requirements.
Ask the converter to mark the outside view, reading direction and panel names. Place the artwork on that exact production dieline; do not redraw it from a PDF preview. Keep varnish-free or ink-free areas where the adhesive requires them. Stowliva’s artwork guide can help teams prepare vector logos, outlined fonts, named colors, images and bleed before prepress.
4. Protect barcode size, contrast and quiet zones
A barcode is an operational element, not a decorative texture. The GS1 ten-step implementation guide explains that symbol choice, size and placement depend on the scanning environment and warns against truncating EAN/UPC symbols. It also calls for dark bars, light backgrounds and clear quiet zones.
Put the final encoded symbol—not a placeholder—on the curved or flat panel where it will be scanned. Avoid a fold, seam, high-gloss reflection or strong graphics in its quiet zones. Print the symbol through the intended process and verify it on finished sleeves. If a retailer has its own placement or grade requirements, add those to the purchase specification.
5. Match print and finish to the run and rub risk
Offset printing can suit detailed, repeatable volume; digital printing can support short runs and versions; flexographic or specialty processes may fit other constructions. The right choice depends on quantity, color expectations, board and finishing—not on a universal quality ranking.
Approve brand colors with a named reference and a physical production-intent proof. Screen color is not a contract for ink on uncoated, coated or recycled board. Then test the finish against the real handling route. Matte lamination, gloss film, aqueous coating, spot varnish, foil and embossing change appearance, friction, fold behavior, cost and end-of-life claims.
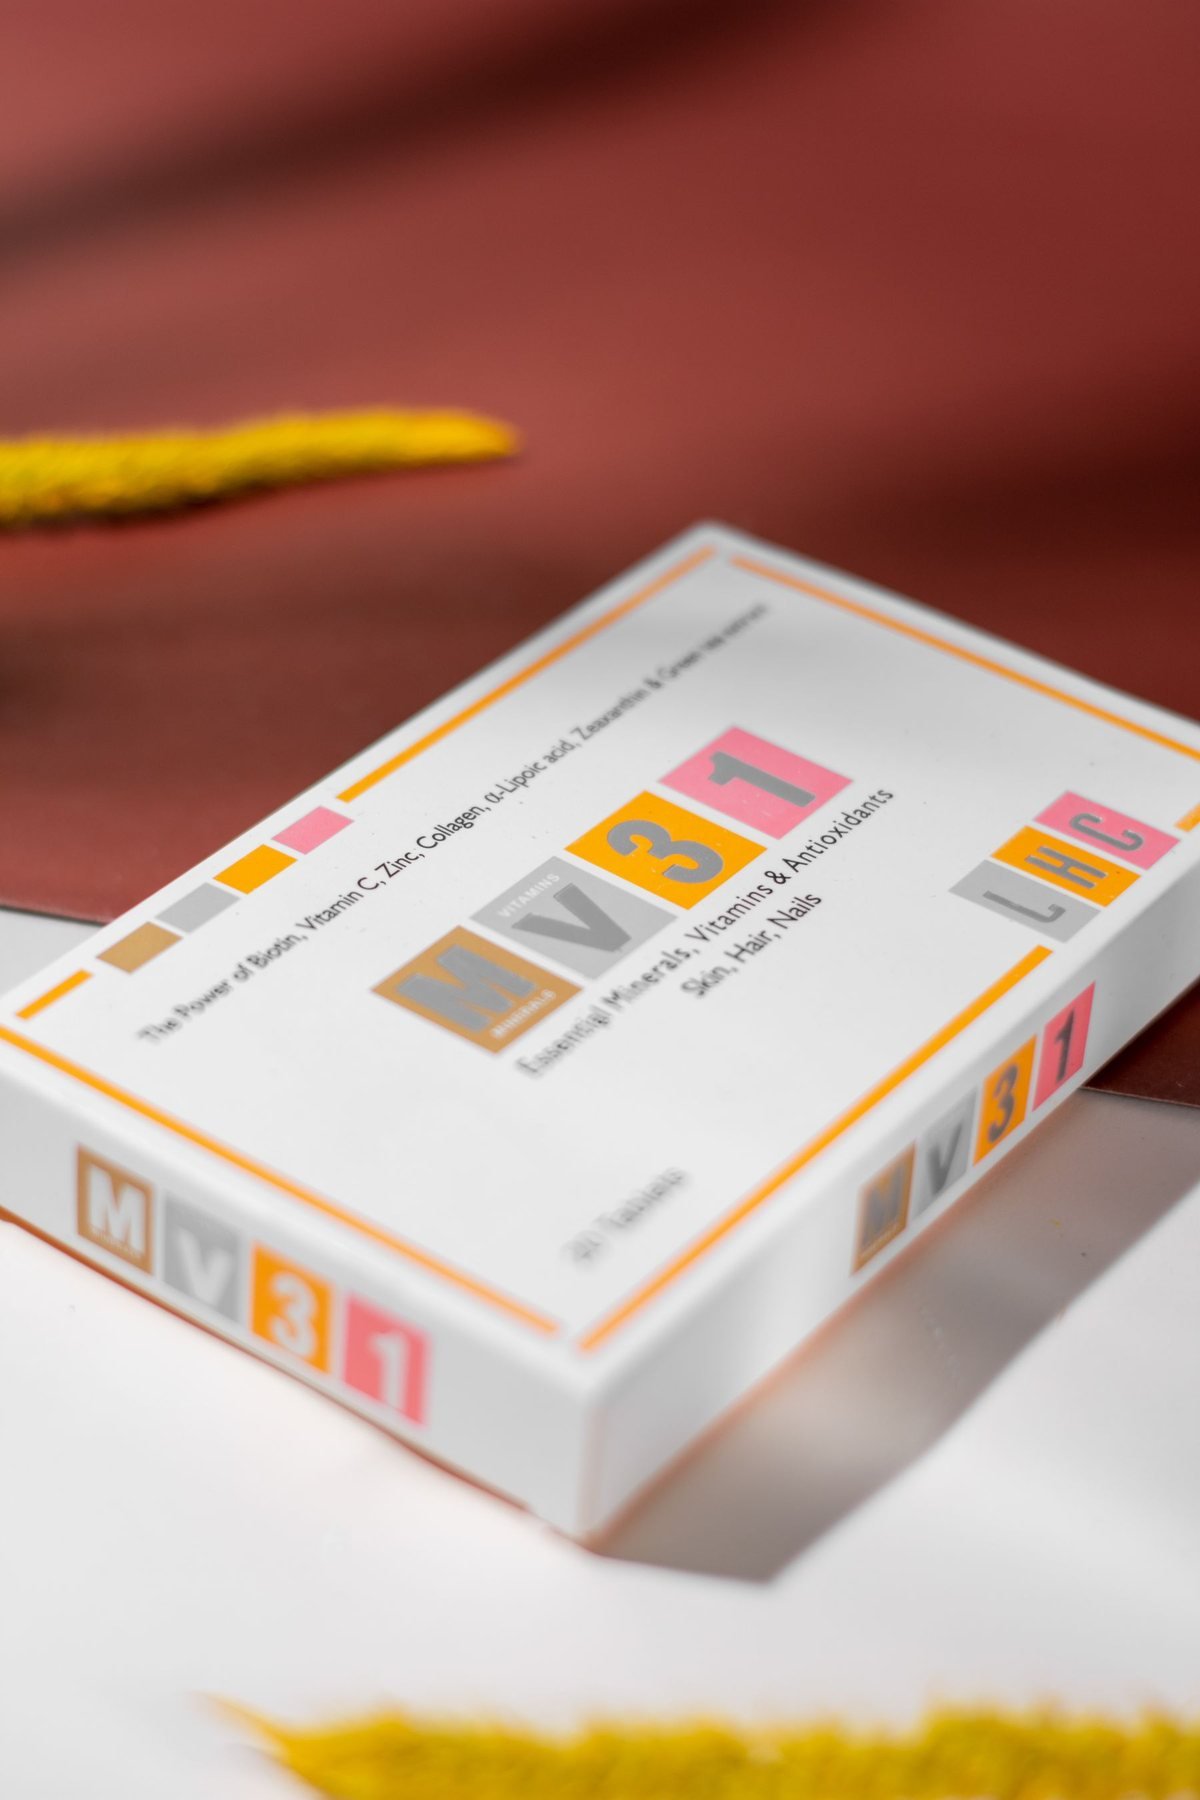
6. Design the joint for assembly and separation
A glued seam should remain closed without a hard ridge that catches on the product. Define overlap, adhesive location and squeeze-out limits. A locking tab should close easily, resist spring-back and avoid scratching the primary pack. An open belly band needs a reliable label, seal or interlock when slippage matters.
Decide whether customers should separate the sleeve from the product. If so, make the action obvious and practical. For fiber-sourcing statements or an FSC label, follow the certificate holder’s approval process; the Forest Stewardship Council’s label guidance explains that on-product labels identify materials from FSC-certified sources and are controlled through the FSC system. A logo copied from the web is not evidence of authorization.
7. Test the actual packing line
Ten hand-assembled samples at a design desk do not reveal production speed. Run a pilot with the staff, jigs and conveyors that will be used. Record sleeves per minute, misalignment, rework, jams, finger marking and fatigue. Check whether stacks block together after finishing and whether the opening faces the correct direction in the shipping carton.
Agree how the printer packs flat sleeves: count per bundle, orientation, interleaving, carton limit and protection from humidity or edge damage. When a sleeve holds multiple products, custom packaging inserts may control movement more reliably than adding excessive friction to the band.

8. Validate transit, retail handling and scuffing
A sleeve can look perfect at the printer and arrive shifted, rubbed or torn. Test the complete packout: product, sleeve, tray or box, insert, shipper and void fill. Define failure before testing—open joint, sleeve migration, unreadable barcode, visible white cracking, ink transfer, crushed edge or presentation below the approved limit.
The ISTA test-procedure overview distinguishes screening from general simulations of distribution hazards. FedEx’s How to Pack guide and UPS packaging guidelines provide useful carrier-level fundamentals for the outer shipping system. Select a formal protocol with a qualified packaging professional, then inspect sleeve fit and graphics after the test.
9. Make only claims the finished sleeve supports
Paper is not automatically recyclable in every finished construction or market. Film lamination, metallic layers, heavy adhesive, windows, food residue and local collection rules can change the result. The FTC Green Guides summary advises against broad unqualified claims such as “green” and explains when recyclable or recycled-content statements need qualification.
ISO’s ISO 18601 packaging and environment overview frames optimization, reuse and recovery as linked requirements across the packaging system. Use it as a systems reminder, not as a claim by itself. If the sleeve can contact food directly, confirm the intended use and materials with a compliance professional; the U.S. Food and Drug Administration provides a food-contact substances overview.
Keep the evidence with the approved specification: material declaration, recycled-content documentation, certification approval, inks, coatings, adhesives and intended market. Stowliva’s paper packaging accessories and materials overview can help organize the format and material conversation.

Quote-ready custom packaging sleeve checklist
- Real product samples plus minimum and maximum outside dimensions.
- Sleeve style, assembly direction, closure and intended separation method.
- Board grade, caliper, GSM, grain direction, coating and approved color.
- Production dieline with bleed, safe zones, scores, joint and glue-free areas.
- Print process, colors, finish, embellishment and rub-resistance expectation.
- Final barcode file, scanning environment, placement and verification target.
- Packing-line speed, bundle orientation, carton quantity and storage conditions.
- Complete packout test, defect limits, signed sample and claim documents.
- Quantity by SKU, artwork versions, lead time, incoterms and reorder plan.
Frequently asked questions
What are custom packaging sleeves?
They are printed bands—often paperboard—that wrap around a product, tray, bundle or box. They add branding and information while leaving part of the primary pack visible.
How tight should a paper sleeve fit?
It should slide on at the intended packing speed, remain aligned through handling and avoid crushing or marking the product. The correct clearance comes from testing real minimum and maximum units, not from a generic allowance.
Can packaging sleeves replace a box?
Sometimes, when the product already has enough protection or sits in a tray. A sleeve does not automatically provide compression, impact, contamination or tamper protection. Validate the full packout and sales channel.
Are paper packaging sleeves recyclable?
Some may be accepted, but the board, coatings, lamination, foil, adhesive, windows, contamination and local programs matter. Give guidance for the finished construction and target market rather than making a broad claim.
What artwork files should a buyer provide?
Provide editable vector logos, outlined fonts, high-resolution images, named colors and the final barcode on the printer’s approved production dieline. Include finish layers and keep essential copy inside safe zones.
Should we order a physical sample?
Yes. Approve fit, folds, joint, slide force, print, color, finish, barcode scan, packing speed and transit behavior on a production-intent sample before mass production.
Next step: Send product samples or exact dimensions, the primary-pack dieline, sleeve style, quantity, artwork, barcode and distribution route through Stowliva’s custom packaging quote form. Those inputs turn a visual concept into a comparable production brief.
Editorial note: Five newly sourced, licensed real photographs illustrate this article. Product specifications, certification scope and claims must be confirmed for each order.