Candle brand labeling and artwork
Candle Labels: 7 Details to Check Before You Print
Measure the jar, make the longest scent name work, and approve a finished sample before committing to the print run.
Before printing candle labels, check seven things: the information plan, jar measurements, material and adhesive, scent-name layout, artwork files, physical samples and reorder records. Choose the size on the actual vessel and evaluate the finished label construction. A label that looks good on a screen may lift at the edges or become hard to read once it wraps around a jar.
For a small candle range, the expensive mistake is often approving one attractive mockup before trying the longest scent name, the smallest jar and the actual packing process. This guide turns those details into a supplier brief, with references for the safety-information review and practical print decisions.
What should a small candle brand check before printing candle labels?
Check the label’s job, the container’s real dimensions, material compatibility, readable layout, print artwork, proofing process and claim control before you print. A beautiful label is not enough if it wrinkles on a curved jar, hides required information, changes from scent to scent or makes claims you cannot support.
1. Separate the front brand label from safety information
Plan branding and safety information together before choosing the label sizes. The front usually identifies the brand and scent. Other required information needs enough space and the right placement for the product and destination. Have that content and placement reviewed against the applicable requirements and standards before approving the dieline; this table is a layout planning aid.
The CPSC Candles Business Guidance points candle businesses toward requirements and voluntary ASTM candle standards, including ASTM F2058 for candle fire-safety labeling, while also noting separate rules for certain metal-cored wicks and hazardous-substance cautionary labeling. The National Candle Association’s label guidance also explains that candles should include a cautionary label or tag with core fire-safety rules. Use these sources as compliance starting points, not as a reason to assume a branding label proves fire safety. (CPSC candle business guidance)
Practical split:
Label area | Main job | Typical content | Design priority |
|---|---|---|---|
Front brand label | Shelf appeal and scent recognition | Logo, scent, collection; space for applicable mandatory information | Strong hierarchy, clean finish |
Back or side label | Product details | Ingredients or maker details if applicable, batch code, website | Legibility at small size |
Safety-information area | Safety communication | Warning text and symbols suited to the product | Readable copy and placement reviewed for the product and market |
Outer box or wrap | Gift and shipping presentation | Brand story, barcode, variant, care note | Consistency with the jar |
For coordinated candle packaging ideas, pair jar labels with box details rather than forcing everything onto one small sticker. Stowliva’s custom candle labels for candles, perfumes, jars and boxes provide a starting point for a branded-label inquiry. Confirm the exact stock, adhesive, finish and suitability for your intended jar; the product name does not establish heat resistance or safety compliance.
2. Measure curved containers before choosing a size
Curved glass, tins and ceramic vessels reduce the usable flat-looking area. A label that looks perfect on a screen can crease, wrap too far around the sides or become hard to read when viewed from the front. Measure the actual container after choosing the lid, because lids, shoulders, seams and taper all affect placement.
Wrap a paper mockup around the exact vessel and view it from the normal shelf angle. Check the lid, shoulders, seams and bottom curve. The Avery application guide describes preparing clean, dry, cooled containers and keeping them stable during application. Use the cleaning method and application conditions approved for your container and label.
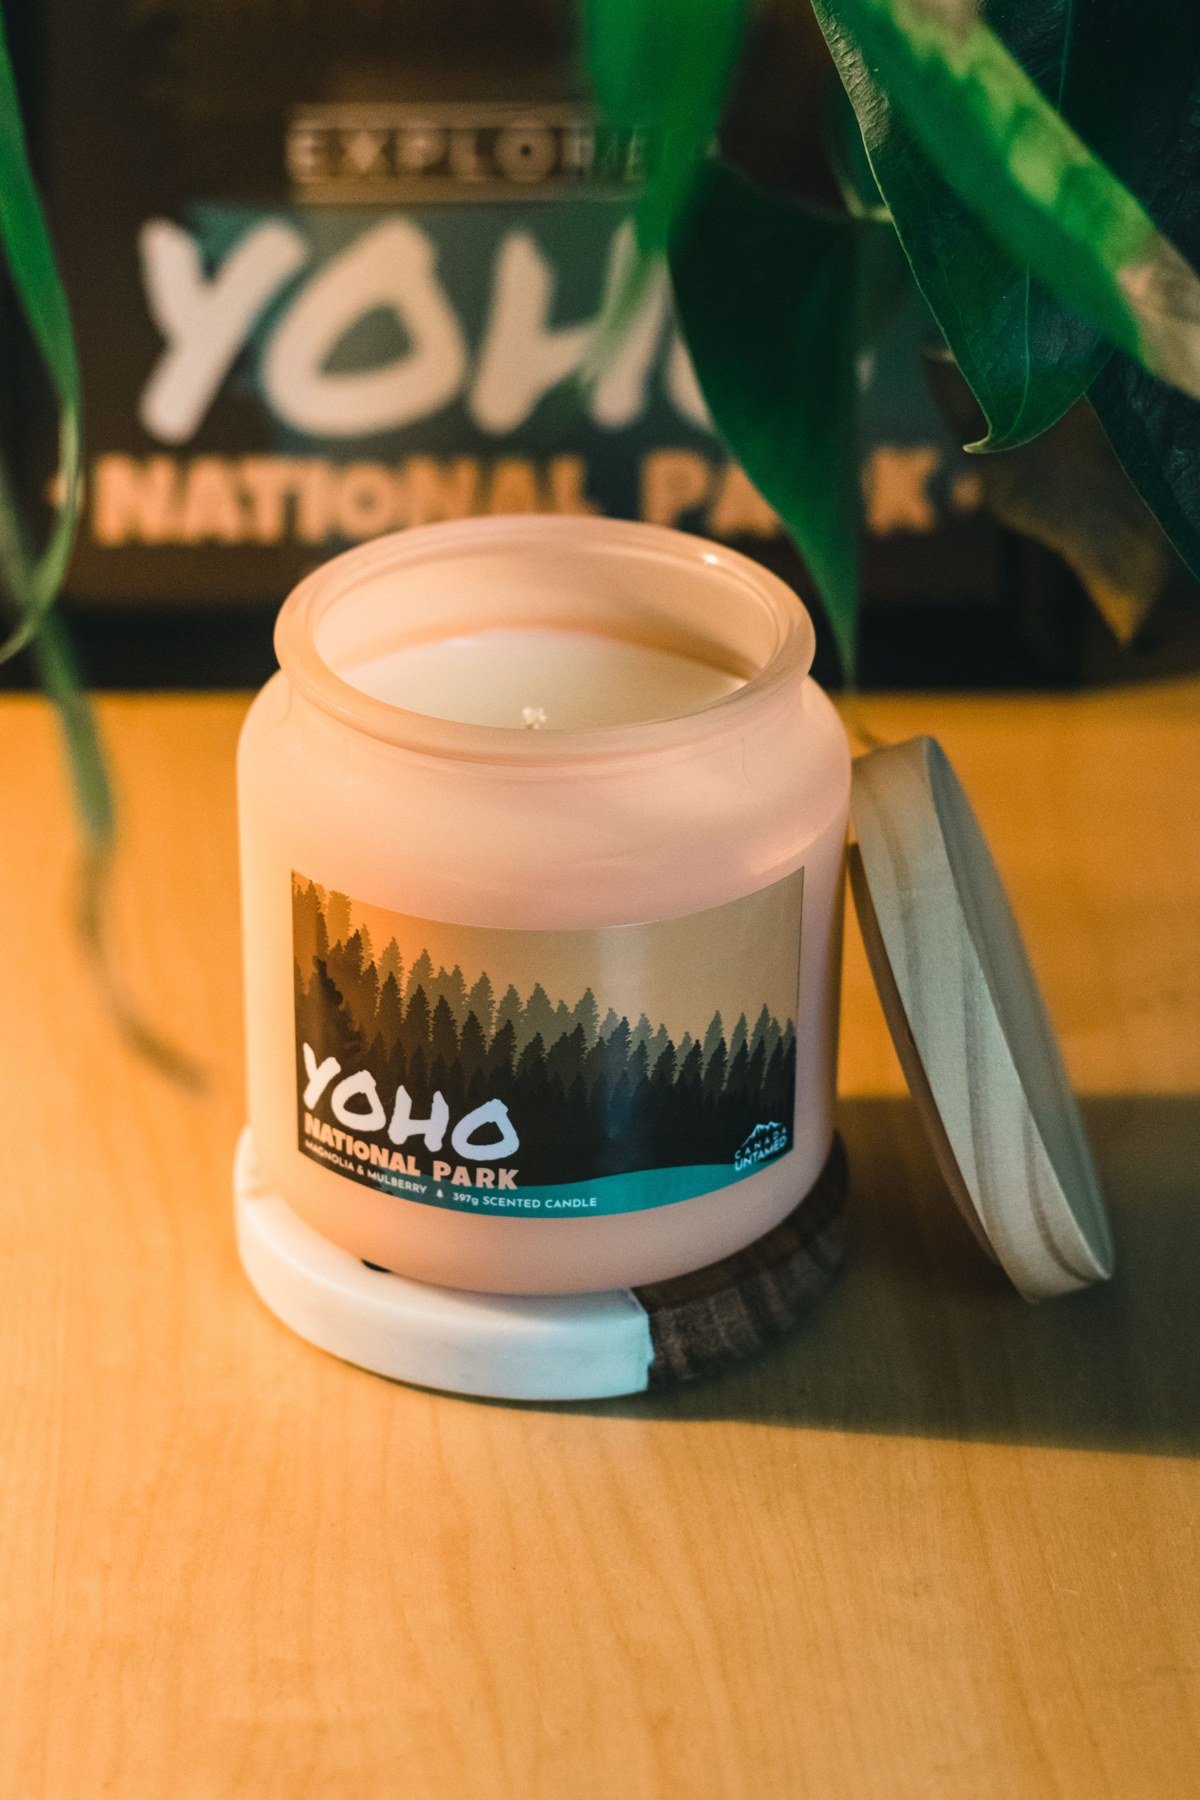
Illustrative measurement example: Wrap a paper strip around the jar at the intended label height. Mark where the strip meets itself, then measure that circumference. If the circumference is 9 inches, a 3-inch-wide front label uses one-third of the wrap. Now check the visible “front” zone by looking at the jar on a shelf; if only about 3.5 inches faces the shopper clearly, keep the main logo and scent name inside that central area, with quiet background or no print near the edges.
3. Match face stock, ink and adhesive to the container
Face stock is the printable material: paper, textured paper, clear film or another substrate. Ink and adhesive must work with that face stock and with the surface beneath it. A kraft box, frosted jar and glossy tin may need different sticker choices even when the artwork is the same.
Ask your supplier how the proposed face stock behaves on glass, metal, coated paper or textured board. Avery material and application guidance explains that material choice affects application and durability, and that oils, dust, fingerprints and moisture can interfere with adhesion. For candles, discuss expected handling, oil exposure, storage and the temperature range of the proposed application. Material appearance alone cannot establish the temperature rating of the ink or adhesive. (Avery label application guidance)
Compare white paper stickers for an outer carton or seal and custom product label rolls for your labeling workflow. Ask which constructions are available for the jar itself. Avery’s adhesive guide recommends testing on the specific container. A supplier’s general material sample is useful for feel, but a finished sample is needed to evaluate your chosen surface and use.
4. Build a layout that keeps scent variants readable
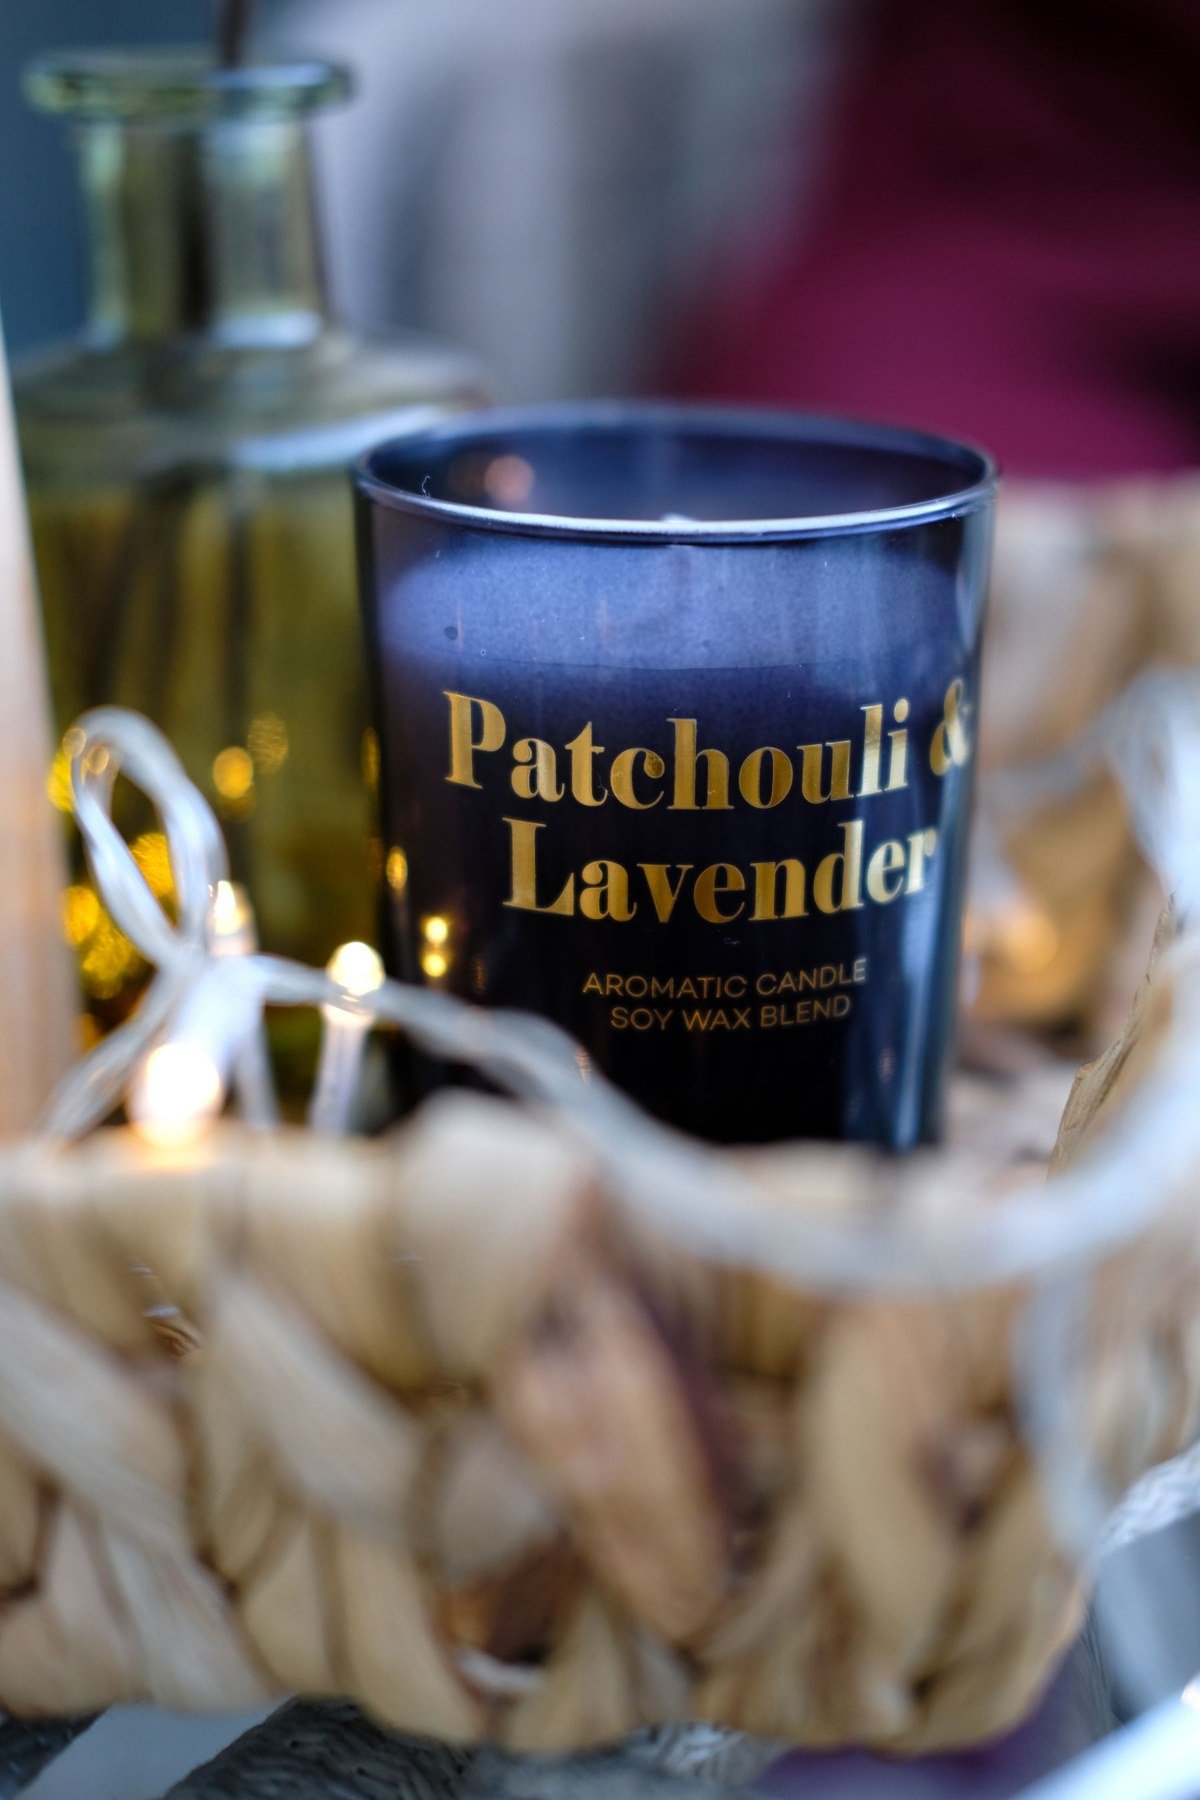
Candle label design often fails when the first scent looks beautiful but the tenth scent breaks the system. Long names such as “Smoked Vanilla & Cedarwood” need more room than “Rose.” Seasonal editions may need batch codes, collection names or small icons. Build the layout around the longest realistic scent name, not your shortest one.
Create one master hierarchy: brand first, scent second, supporting details third. Keep type contrast strong enough for dim market lighting and shelf photos. If you sell multiple sizes, decide whether the small jar gets simplified artwork rather than shrinking everything until it becomes unreadable.
Variant control tips:
- Set a maximum scent-name character count before designing.
- Keep the scent position consistent across all SKUs.
- Use a spreadsheet for scent names, fragrance notes, size and batch code.
- Print a 100% paper mockup for every variant before ordering.
- Check that barcodes or QR codes, if used, have enough quiet space.
5. Prepare artwork with bleed, margins and print-ready files
Bleed is the extra artwork that extends beyond the final cut line so tiny trimming shifts do not leave white edges. Adobe bleed guidance for InDesign notes that 0.125 inch, or 3 mm, is standard, although some print providers may require more. Confirm your supplier’s requirement before exporting files. (Adobe print-bleed tutorial)
Keep important text and logos inside a safe margin, away from the trim line. Use vector logos where possible, embed or outline fonts as requested, and supply colors in the format your printer specifies. If you are preparing diy candle labels, still use the same discipline: full-size artwork, consistent margins and a test print before applying labels to inventory.
6. Approve proofs and samples before the full run
A proof checks artwork; a sample checks the physical result. You need both. A PDF proof may catch spelling, layout and color placement, but it cannot show how a label feels, wraps or applies on your jar.
When reviewing a physical sample, apply it exactly as your team will apply production labels. Clean the container, let it dry, align the label, smooth from the center outward and inspect edges after normal handling. Keep one approved sample as your production reference so later reorders can be compared against it.
Use a written inspection sheet rather than an overall “looks good” decision. Record the jar supplier and finish, label revision, application method and date. Compare appearance immediately and after the supplier’s specified bonding period. Inspect edge lift, wrinkles, scuffing, ink transfer and readability under the expected handling conditions.
For the use-phase temperature exposure, agree a suitable evaluation with the candle maker and label supplier as part of the product’s established testing process. A room-temperature handling check does not validate a label on a burning candle, and a packaging sample does not establish fire safety. Keep photos of the approved result and written acceptance criteria for the next order.
7. Control claims, versions and reorders
Claims on candle labels must be specific and supportable. The FTC environmental claims guidance, known as the Green Guides, warns marketers against broad unqualified claims such as “green” or “eco-friendly” and emphasizes clear, substantiated environmental claims. If you mention recycled content, compostability, recyclability or a similar attribute, confirm the evidence for the exact label or packaging component. Check the face stock, adhesive, print and finish together. A claim about the outer carton does not automatically describe the jar label, and a label claim does not describe the candle wax. (FTC Green Guides on eCFR)
Reorder control matters just as much. Save the final dieline, material name, adhesive, finish, size, roll direction or sheet layout, color references, approved proof and order date. Stowliva’s custom candle boxes can support a more complete branded system, but boxes and labels should share controlled artwork files so the jar, box and sticker do not drift over time.
Supplier quote checklist
Send this brief before requesting pricing:
- Container type, material, diameter, height and taper notes.
- Label purpose: front label, safety label, box sticker or seal.
- Finished label size and shape, plus bleed requirement.
- Face stock, adhesive preference and finish preference.
- Number of designs, quantity per design and reorder expectations.
- Application surface: glass, tin, kraft box, coated carton or other.
- Exposure notes: handling, moisture, oils, storage and shipping route.
- Artwork files, color references and barcode or QR requirements.
- Sample request and approval deadline.
- Destination country and delivery address for shipping estimates.
For a coordinated order, read the roll-label size and unwind guide and artwork preparation guide. Use the Stowliva sample kit to compare available material feel, then request an application sample for the actual jar. The candle box buying guide covers the separate outer-pack decision.
Send a candle-label brief to Stowliva with one reference container, the dimensions, artwork versions, quantity per scent and delivery destination. Ask for the proposed stock, adhesive, finishing and proofing process in writing so alternative quotes describe the same job.
Candle Labels: frequently asked questions
What should I check before ordering candle labels?
Check the information plan, actual jar dimensions, stock and adhesive, variant layout, artwork, finished samples and reorder records. Review required content and placement for the product and destination before approving the dieline.
What size should candle labels be?
Measure the usable surface of the actual container, including its taper, seams, shoulders and lid. Try a full-size paper mockup and view it from the shelf before agreeing the finished dimensions.
Can I use paper labels on candle jars?
Paper can be a candidate, but appearance alone does not establish suitability. Confirm the exact stock, ink, finish and adhesive, then evaluate the finished construction on the intended jar under its expected conditions.
Does a branding label replace candle safety information?
No. Plan safety information and applicable mandatory details with the product and destination requirements. A decorative label or a supplier material sample does not validate fire safety.
Should I approve a proof or a physical sample?
Approve both. The proof checks copy and layout; the finished sample helps evaluate fit, application and appearance on the actual vessel. Agree any use-phase evaluation with the candle maker and label supplier.
About this guide: Prepared by Stowliva Editorial using the linked references, reviewed October 21, 2026. Reference photos show independent applications. Confirm specifications for your order.