Jewelry packaging sourcing guide
Custom Jewelry Boxes: Will the Insert Fit? 8 Buying Checks
Build the box from the jewelry outward: fit the item, control movement, protect the finish and approve the full packout.
Short answer: Custom jewelry boxes should be designed from the jewelry outward. First protect the item’s shape, surface and display position; then choose an insert, closure and outer finish. Rings, earrings, necklaces and bracelets need different clearances. Approve the real item in a production-intent sample, complete with cards, tissue and the shipping pack.
Jewelry packaging looks simple because the product is small. In practice, tiny tolerances matter: a ring stone can touch the lid, an earring post can hit the back wall, a fine chain can slip behind an insert and a polished surface can scuff against a rough edge. The most reliable buying process treats fit, presentation and delivery as one system.
Use Stowliva’s custom jewelry boxes for item-specific presentation, a custom gift box for sets and a fitted custom insert to control position. The outer style can remain consistent across a collection while each insert changes for the ring, earring, necklace or bracelet inside.
Jewelry box formats compared
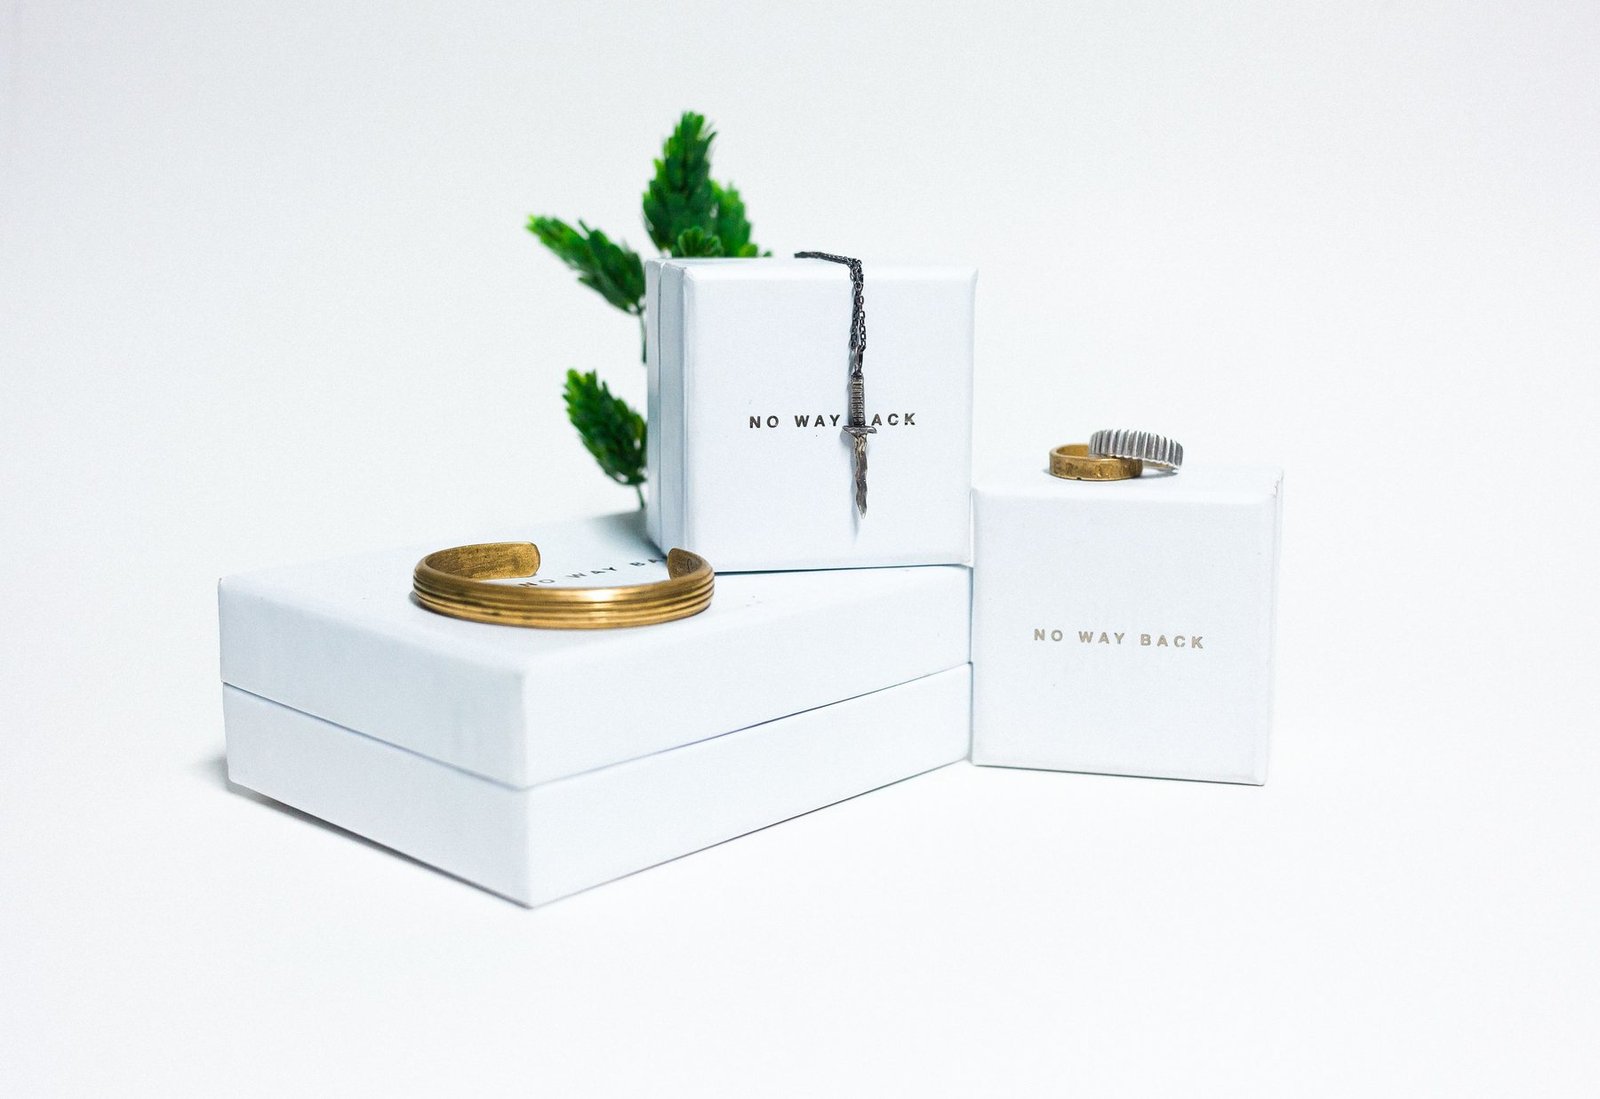
This matrix turns the Semrush topic research into a practical short list. Use actual jewelry samples to confirm every dimension and contact point.
| Jewelry format | Common structures | Insert needs | Mistake to catch |
|---|---|---|---|
| Ring | Hinged, lid-and-base, drawer | Slit cushion or shaped pad | Slot too tight or stone touches lid |
| Earrings | Flat rigid box, hinged box, card set | Paired holes, tabs and rear clearance | Posts bend or pair sits unevenly |
| Necklace | Long box, folder, drawer | Pendant well, chain tabs, clasp recess | Chain tangles or pendant swings |
| Bracelet | Long box, hinged square, pillow | Roll, loops or shaped support | Cuff pressure or sliding |
| Mixed gift set | Rigid box, magnetic box, sleeve | Layered or modular tray | One insert cannot fit every item |
1. Choosing one cavity for every jewelry format
A shared outer footprint can simplify a packaging family, but the internal geometry should still follow the product. For a ring, record band width, setting height and the point where the shank enters the slot. The ring should stand without being pinched, and the stone should have safe clearance above and around it.
Earrings need space for both the visible design and the hardware behind the insert. Stud posts, butterfly backs, hooks, hoops and clips behave differently. Necklaces need length plus chain control. Bracelets may need to lie flat, curve around a roll or remain open without being forced into a new shape.
Measure several production pieces, not only a prototype. If the collection changes seasonally, create a dimension sheet by SKU and map each item to an approved insert. That is more reliable than describing everything as “small,” “medium” or “large.”
2. Approving the outer box before the insert
The insert is the interface between product and package. It controls display angle, pressure, movement and removal. Designing it after the box dimensions are fixed can create a cavity that is too shallow, a lid that presses the product or a removal path that pulls on a delicate component.
Plan box depth, insert thickness and jewelry height together. Mark every contact surface. The item should load consistently during fulfillment and lift out without tugging a chain, bending a post or touching a stone. For more design questions, see the Stowliva packaging inserts guide.
3. Controlling the pendant but not the necklace chain
A centered pendant can still arrive with a tangled chain. A strong necklace insert controls three zones: pendant, chain runs and clasp. A shallow well can locate the pendant; tabs or channels can guide the chain; a rear recess can prevent the clasp from creating a visible bump.
Test the actual necklace. Close the box, rotate it gently through common handling orientations, reopen it and record what moved. Fine chains can slip through wide cuts, while a heavy pendant can pull against narrow tabs. Layered necklaces may need separate paths so the chains do not cross.
Surface contact deserves equal attention. The Gemological Institute of America’s jewelry care guidance warns against exposing jewelry to potentially damaging conditions and recommends appropriate storage. Your insert test should therefore include every material and edge the item touches, not just the visible top layer.
4. Treating an earring pair like a flat printed card
Earrings must look symmetrical and leave enough room for their posts, hooks or backs. A card that works for light studs may flex under statement earrings. Holes that are slightly misaligned can make a matched pair appear uneven, while insufficient rear clearance can press hardware against the box.
Review the insert from both sides. Check the distance between fixing points, finished display height, backing space and the customer’s removal motion. If the box is personalized, keep names and logos away from holes, seams and hardware. Decoration should frame the product, not make it harder to handle.
The Canadian Conservation Institute’s guidance on caring for metal objects emphasizes clean handling and suitable storage environments. Although commercial jewelry packaging has a different purpose from museum storage, the source is a useful reminder that contact materials, contamination and humidity can affect metal objects.
5. Making bracelet packaging too shallow or rigid
A chain bracelet, bangle, cuff, charm bracelet and watch-style piece do not share the same resting shape. A shallow lid can press raised elements. A hard roll can force a cuff into an unnatural curve. A slick flat insert can let the bracelet slide off-center before the customer opens the box.
Choose whether the item should lie flat, curve around a cushion or be retained by soft loops. Check the clasp and charms at their highest points. Add the care card, tissue, pouch or authentication document before confirming depth; an empty sample can look generous while the full gift pack becomes compressed.
For longer-term storage considerations, the Canadian Conservation Institute’s note on storage of metals discusses dry, clean and protective storage. Translate that principle into an appropriate commercial specification and validate the selected materials with the actual jewelry.
6. Choosing luxury finishes before testing durability
Premium perception comes from control: square edges, clean wrap joints, consistent color, a centered mark and a smooth opening. Foil, embossing, textured papers, fabric and soft-touch surfaces can help, but each adds a failure mode. Look for lifting corners, glue marks, lint, uneven foil pressure, crushed embossing and rubbing.
Review artwork on the final dieline and material. Ink can shift on coated, uncoated, textured and fabric surfaces. A foil mark needs suitable line weight and stamping space. Use the Stowliva artwork guide to prepare production files, then approve a physical sample rather than relying on a screen rendering.
Do not let presentation imply an unsupported product claim. The U.S. Federal Trade Commission maintains the Jewelry Guides, and its advertising FAQ for small businesses explains the need for truthful, substantiated advertising. Product descriptions and package copy should be reviewed for the markets where the jewelry is sold.
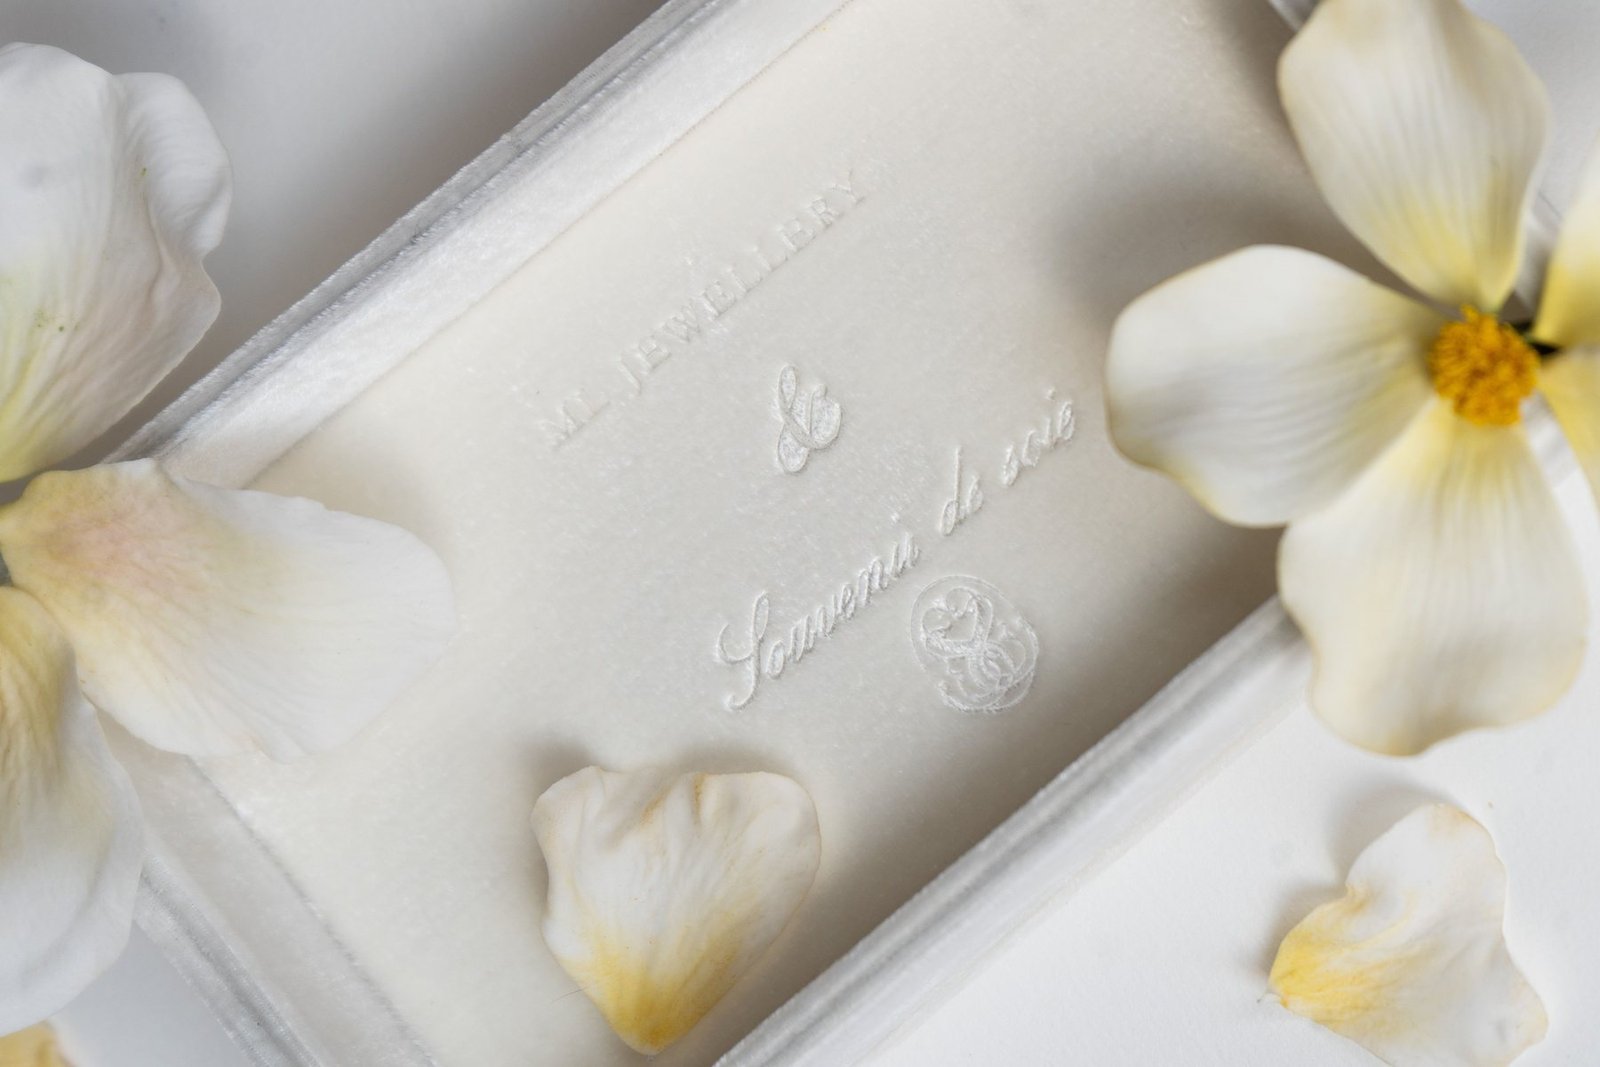
7. Forgetting closure feel, lid clearance and repeated opening
The opening moment is mechanical as well as visual. A lid that grips too tightly frustrates the buyer; a loose lid can feel insecure. Drawer boxes may catch, hinges may pull, sleeves may scrape and magnets may misalign. Open and close the production-intent sample repeatedly and watch how the insert and item respond.
Measure the highest point after the item is seated, including stones, posts, charms and folded chains. Confirm the lid never touches it. Then add every pack component and repeat the check. Document board thickness, insert height, magnet position and closure tolerance so a later reorder is evaluated against the same target.
8. Testing the presentation box but not the delivery pack
A rigid jewelry box may protect the item on a counter yet arrive scuffed or crushed after parcel handling. Place the presentation box inside the intended custom mailer or shipping carton with the real void-control system. Check whether ribbons, textured wraps and corners rub against the outer pack.
The International Safe Transit Association lists packaged-product test procedures for different distribution situations. The U.S. Postal Service also provides general package-preparation guidance. Select tests with a qualified professional based on product value, package weight, carrier and route; do not claim a box is transit-safe because one hand-carried sample looked fine.
After testing, inspect jewelry position, lid and drawer action, corners, wrap, logo, insert, tissue and outer shipper. Define acceptance criteria before the test. “Nothing broke” is too narrow if the piece arrives tangled, off-center or visibly scuffed.
How to specify custom jewelry boxes wholesale
A wholesale quote should state the exact outer size, internal usable space, structure, board, wrap, insert material, color, logo process, accessories, packing method, quantity and shipping term. Add measurable quality points: acceptable logo position, surface cleanliness, opening force or functional check, and item fit.
Compare suppliers against the same written brief. Our custom packaging MOQ guide explains why tooling, setup and quantity affect unit price. Ask for a Stowliva packaging quote after the product set, target quantity and finish are defined. Otherwise, two inexpensive quotes may describe two different boxes.
How to make material and sustainability claims carefully
Jewelry packaging often combines wrapped board, fabric, foam, magnets, ribbon, foil and adhesive. That makes broad disposal claims risky. The FTC’s Green Guides summary explains why environmental claims should be clear, specific and supported. Review the finished assembly and the target market’s collection systems before saying a pack is recyclable.
For an FSC claim, verify eligible inputs, the supplier’s current scope and permission to use the label. FSC’s chain-of-custody overview describes how certified material is tracked through the supply chain. A brown or paper-looking box does not prove certification.
Buyer checklist before production
- Map every jewelry SKU to a measured insert and approved box format.
- Check product placement, removal path, hardware clearance and all contact surfaces.
- Close the box and confirm stones, posts, charms and chains never touch the lid.
- Test necklace movement and earring alignment after gentle orientation changes.
- Inspect wrap, corners, logo, foil and fabric under normal light.
- Add cards, tissue, pouches and documentation before approving box depth.
- Test the presentation box inside its real delivery pack.
- Keep a signed sample, photographs and a written specification for reorders.
Frequently asked questions
What should a custom jewelry box protect first?
Protect the item’s shape, surface and presentation position. The insert should control movement without pressing stones, posts, clasps, chains or polished metal.
Can one jewelry box size work for every product?
Usually not. A coordinated range can share the same outer design, but rings, earrings, necklaces and bracelets normally need item-specific inserts and clearances.
Which insert material is best?
Choose by item weight, surface sensitivity, appearance, removal path, assembly and the markets where the product is sold. Test the real jewelry against every contact surface before approval.
How do I prevent necklace tangling?
Control the pendant, both chain runs and the clasp with a well, tabs or channels. Close and gently rotate the finished sample, then reopen it to confirm the necklace stays positioned.
What makes a jewelry box feel premium?
Consistent edges, clean wrapping, controlled opening, accurate logo placement and secure item fit matter more than stacking many decorative effects onto an unstable structure.
What should I approve before ordering wholesale?
Approve real-item fit, insert, lid clearance, closure, artwork, finish, complete packout, protective shipper and a documented production sample.
Next step: Send product dimensions, photographs, target quantity and preferred finish to the Stowliva custom jewelry box team. A precise sample brief is the fastest route to a box that looks right and fits correctly.
Editorial note: Five newly sourced, licensed real photographs illustrate this article. Product specifications, certification scope and claims must be confirmed for each order.