Ecommerce mailer sourcing guide
Custom Bubble Mailers: 8 Costly Shipping Mistakes to Avoid
Fit the packed order, test its real failure points and verify every print and material claim before production.
Short answer: Choose custom bubble mailers from the packed product outward. Measure the finished order, match cushioning and puncture resistance to its failure points, confirm the seal and print on physical samples, then run repeatable parcel tests before buying volume. A good-looking empty mailer is not proof of protection.
For ecommerce brands, the mailer is protection, packing equipment and advertising in one object. The expensive mistakes usually happen before the first production run: a size is chosen from product dimensions, a logo is approved on a flat screen, or a recycling statement is accepted without checking the finished construction.
This guide turns Semrush research for custom bubble mailers into an eight-step sourcing and test plan. It is written for real fulfillment conditions, where a package may be dropped, compressed, rubbed, exposed to moisture and handled quickly by several people.
Compare Stowliva’s white custom bubble mailers with custom poly mailers and custom kraft paper mailers. A bubble format is useful only when cushioning solves the product’s actual risks.

Custom bubble mailer options compared
No exterior, bubble profile or print method is automatically best. Shortlist by product fragility, packed thickness, shipping route and the evidence required for any material claim.
| Option | Useful for | Advantage | Watch-out |
|---|---|---|---|
| Poly exterior | Lightweight goods needing moisture resistance | Flexible, printable and low in shipping mass | Mixed layers, labels and local collection affect recycling guidance |
| Paper exterior | Paper-forward presentation and selected dry routes | Natural surface and easy label adhesion | Moisture, tearing and internal construction still need testing |
| Small bubble profile | Slim accessories and lower-fragility products | Smoother surface and less bulk | May not protect rigid corners or heavier contents |
| Larger bubble profile | Goods needing more air space around the item | More cushioning potential | Raises packed thickness and may affect storage or rate tiers |
| Stock mailer plus label | Pilots, seasonal launches and low volumes | Fast testing with little branded inventory | Less integrated presentation and another packing step |
1. Ordering from product dimensions instead of packed dimensions
Measure the order after everything is added: retail carton, tissue, sleeve, instructions, sample, receipt and return insert. Record the maximum length, width and thickness, then test whether the packed item enters without forcing the opening or seal area. A mailer that fits the bare product can become too tight on the packing bench.
A tight fit loads the seams and adhesive; a loose fit lets the item gain momentum and strike edges. For several SKUs, build a matrix of packed dimensions and group orders into the smallest number of safe sizes. Include single units, common bundles and promotional kits. The goal is controlled movement, not the smallest possible envelope.
USPS advises using packaging that does not bulge and is strong enough for the contents in its package preparation guidance. Carrier rules and rate calculations vary, so confirm the finished external dimensions and weight for every major service you use.
2. Assuming all bubble cushioning performs the same
Bubble diameter, height, film gauge and liner construction change how the mailer responds to shock and concentrated pressure. A soft apparel accessory may only need abrasion protection. A compact, boxed cosmetic or electronics accessory may need corner, face and puncture protection that a thin bubble layer cannot provide.
Map failure points before requesting samples. Look for sharp clasps, caps, box corners, glass, brittle edges and surfaces that scuff. Ask the supplier to state construction and intended use, then pack the real product—not a block of similar weight. If rigid crush protection is essential, a custom box or insert may be safer than any flexible mailer.
3. Treating the adhesive strip as a minor detail
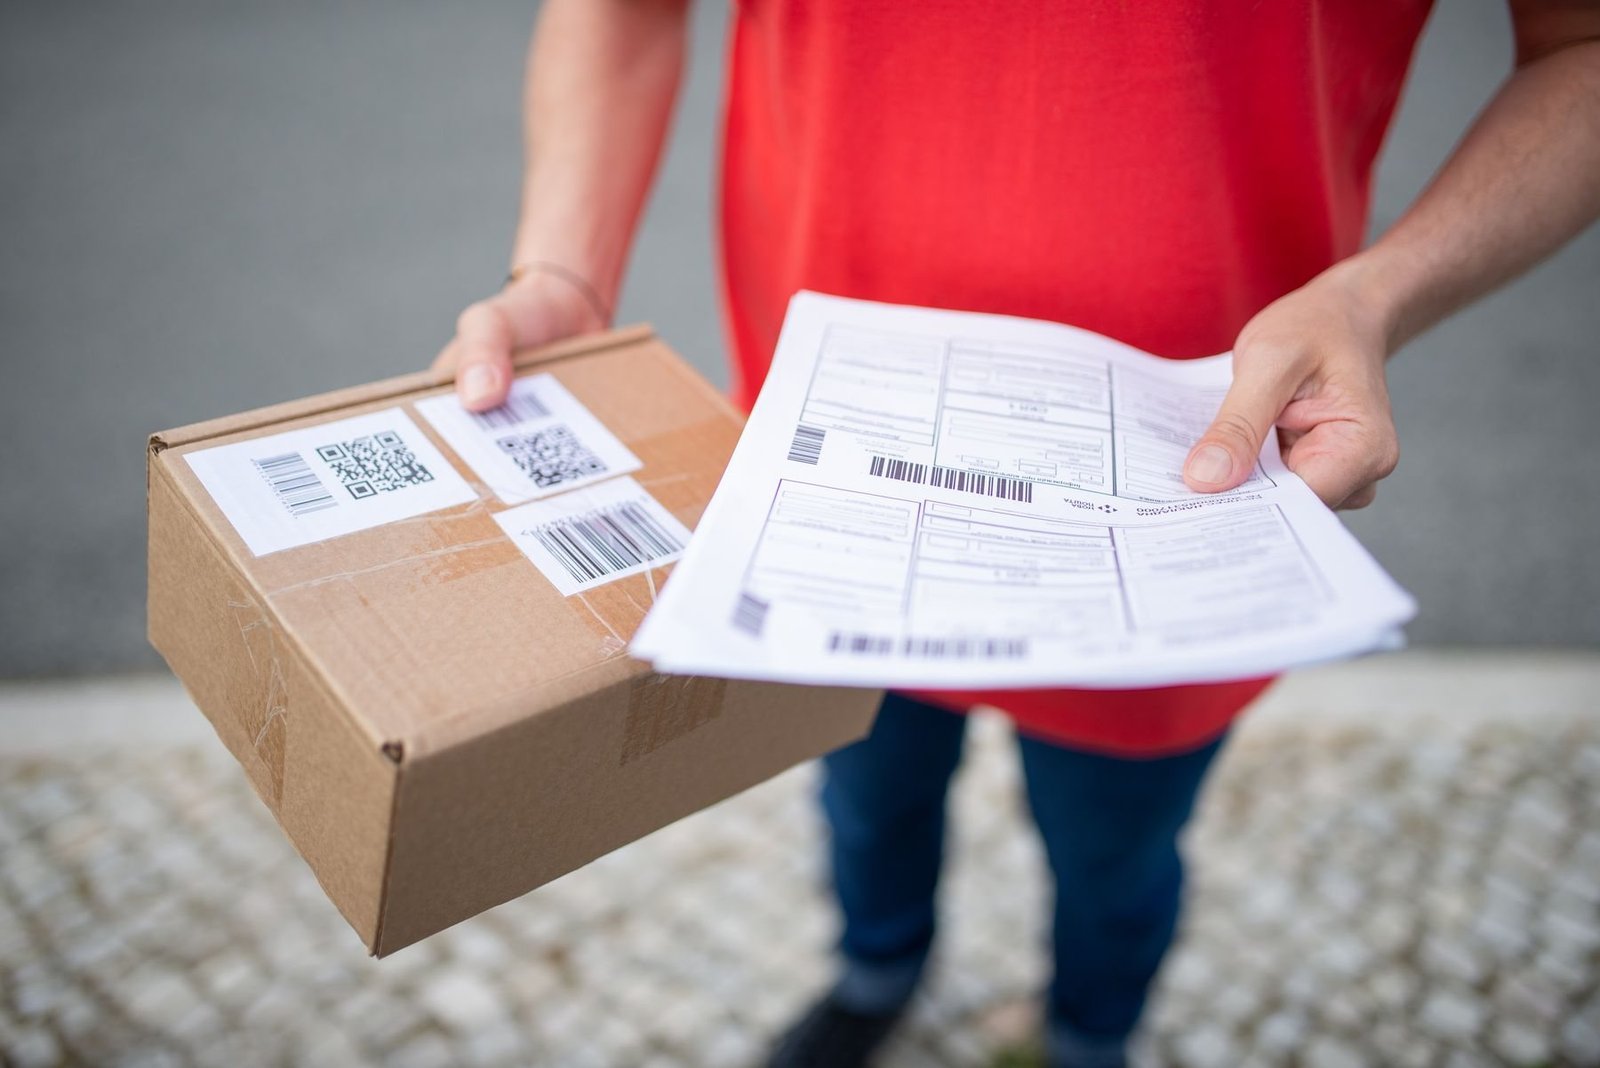
The seal is a common point of failure. Overfilling, dust, cold storage, heat, humidity, a short flap or a narrow adhesive band can reduce performance. Ask what adhesive system is used and how finished mailers should be stored. Seal samples in the same climate and with the same hand motions as your team uses.
Run a simple aging trial: seal representative packs, hold them for the normal time between packing and carrier collection, flex them and inspect for lift. Then repeat after realistic cold and warm storage. A normal order should not need “just in case” tape. If it does, the size, seal or process needs correction.
For U.S. mail, USPS packaging standards state that mailpieces must withstand normal transit and handling without breaking or damaging other mail. Use the destination carrier’s current rules as a requirement, not a last-minute check.
4. Ignoring puncture, moisture and surface abrasion
Air cells can cushion impact while the outer layer still tears. Test pressure from the inside and abuse from the outside. Put the packed mailer against corrugated edges and other likely parcels, flex it and inspect seams, corners, print and contents. A clasp or boxed corner that repeatedly marks the same point needs a protective wrap, orientation rule or different container.
Moisture is a separate hazard. A poly exterior may resist light water exposure better than paper, but punctures, seams and the closure remain vulnerable. Paper-forward formats need special review for rain, wet porches and damp carrier environments. Define what acceptable exposure means for the product, then test that condition rather than relying on “water resistant” as a vague supplier phrase.
5. Approving print without the mailer, label and packed shape
Custom printed bubble mailers may use different processes depending on material, run length, ink coverage, color count and supplier equipment. Fine type, gradients and tight registration behave differently on a flexible, cushioned surface than on flat paper. Confirm the method, color reference, artwork limits, setup cost and minimum order quantity before design is finalized.
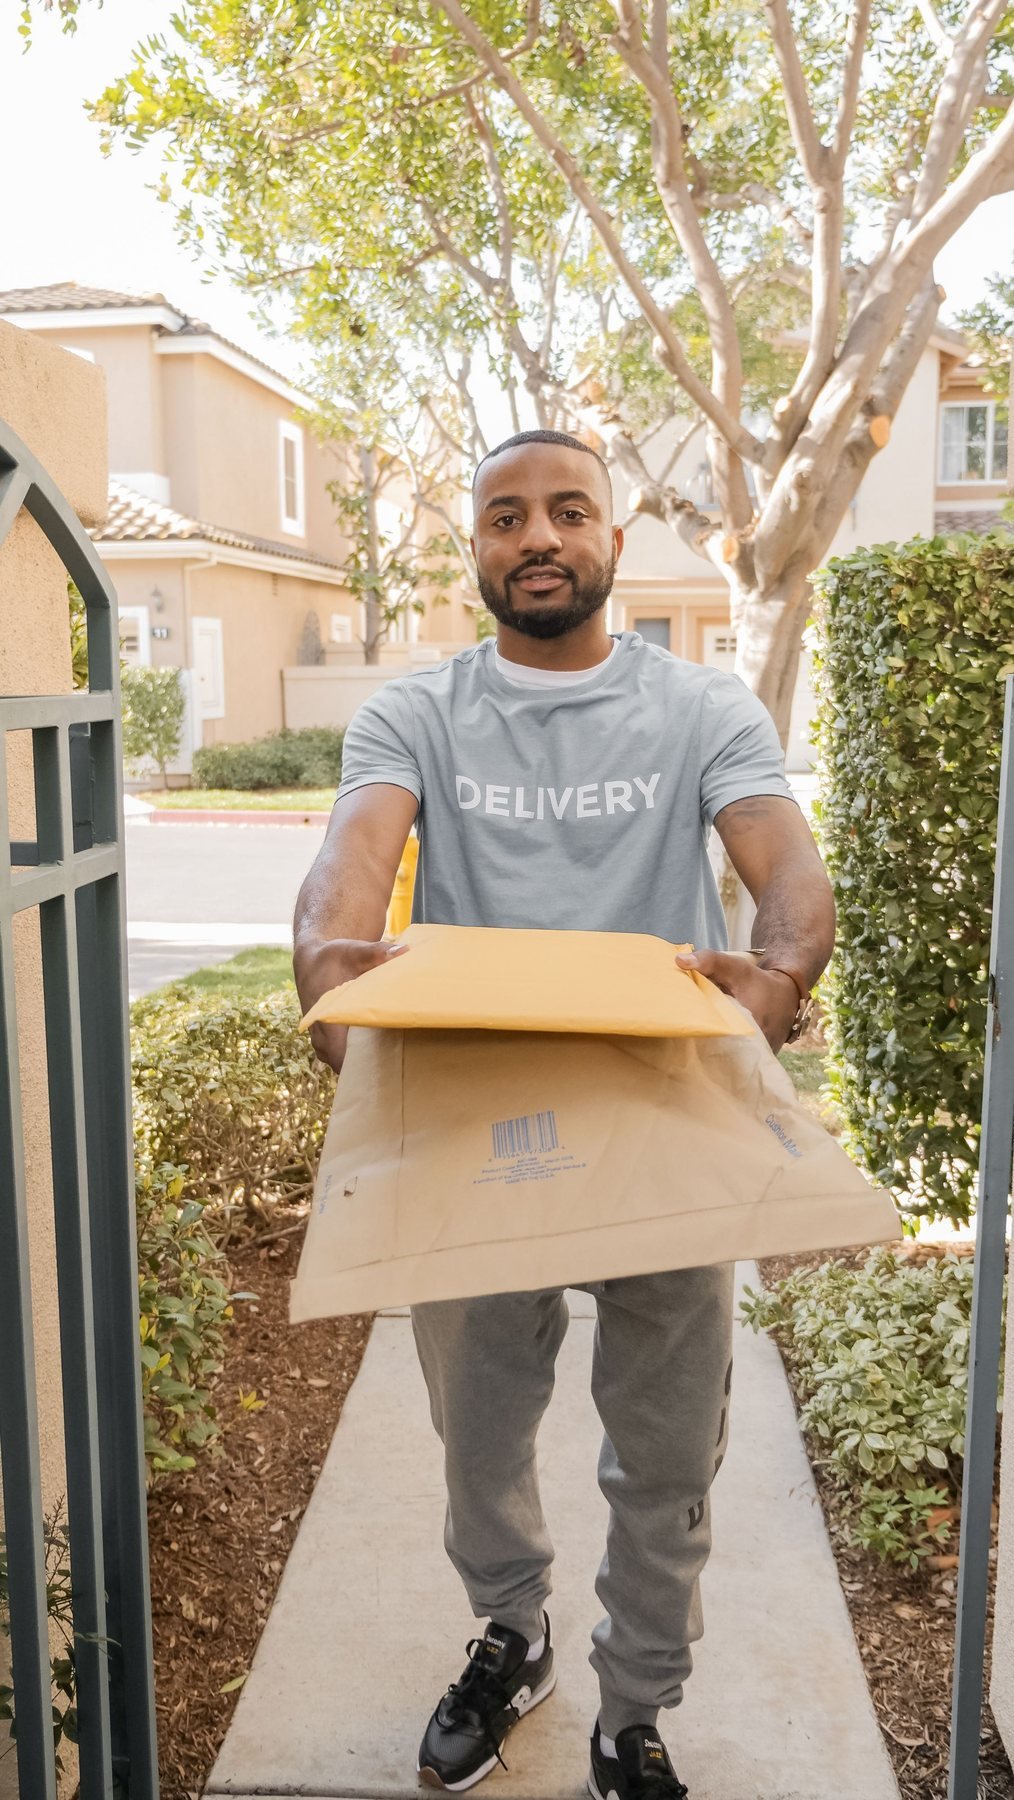
Request the supplier’s current dieline and mark the seal, gusset, seams, folds and label zone. Approve the design on a filled sample so the logo is not distorted or hidden. Leave a quiet area for the carrier label and test barcode scans after the package has been flexed and rubbed. Stowliva’s artwork guide helps prepare vector logos, fonts and production files.
For a lower-risk pilot, compare a stock mailer plus custom embossed stickers. It adds a packing step, but it can validate size, message and demand before you hold a large volume of fully printed inventory.
6. Skipping repeatable shipping trials
A desk inspection cannot model a parcel network. Define failures first: damaged product, dented retail carton, open seal, burst seam, puncture, unreadable label, unacceptable scuffing or water entry. Pack multiple samples exactly as customers will receive them and record the SKU, mailer, weight, packer and result.
ISTA Procedure 3A covers packaged products up to 70 kg moving through parcel delivery systems and distinguishes standard, small, flat and elongated packages. ISTA’s test-procedure overview explains that its 3-Series uses general simulation of transport hazards. Select any formal protocol with a qualified packaging professional; do not claim a pass from an improvised drop test.
ASTM D4169 provides a uniform laboratory framework for evaluating shipping units through sequences of distribution hazards. UPS packaging guidelines also stress that the shipper is responsible for suitable packaging. These sources support structured testing, but they do not certify an untested mailer or replace carrier requirements.
7. Forgetting the packing-line workflow
A protective mailer can still be expensive if it slows fulfillment. Observe the full cycle: select the size, open it, insert the order, remove the release liner, seal, apply the label, scan and stage for dispatch. Time batches rather than a single careful pack. Note static release liners, curled openings, difficult peel tabs and sizes that look too similar.
Create a visual pack rule for each order family. Show product orientation, extra protection, maximum fill line, seal pressure and label placement. Test the instructions with a new employee or 3PL team. If the process requires expert judgment on every order, simplify the size matrix or add fixtures and sample photos.
Coordinate inserts and branding before timing the line. A custom card, label or tissue sheet changes packed thickness and hand motions. Include those pieces in the production trial so the labor estimate reflects the actual unboxing plan.
8. Printing recycling or sustainability claims without evidence
Bubble mailers may combine exterior film or paper, bubble cushioning, adhesive, release liner, ink and a shipping label. A claim for one layer may not describe the finished package. Ask for the full material structure, recycled-content calculation, certification scope and disposal instructions for the markets where the mailer will be sold.
The FTC’s Green Guides summary says marketers should qualify recyclable claims when appropriate facilities are not available to a substantial majority of consumers. How2Recycle’s Store Drop-off guidance lists compatible plastic mailers but makes eligibility dependent on the item and collection route; its FAQ notes that local guidance takes precedence and labels may need removal.
Do not infer a finished-package claim from a resin name. Get the exact construction assessed, use qualified wording and retain approval evidence. If a paper-based route suits the product, compare compostable mailer options and paper formats, but apply the same evidence standard to every claim.
Pre-order sample test checklist
- Measure real packed dimensions for single items, bundles and highest-risk SKUs.
- Record material layers, bubble profile, film or paper specification and finished weight.
- Inspect seams, adhesive, flap depth, release liner and tamper evidence.
- Test puncture points, movement, abrasion and defined moisture exposure.
- Approve print color, scuff resistance, label area and scan performance on a filled pack.
- Run a documented parcel test or qualified protocol using production-intent samples.
- Time the actual packing cycle and check size identification at the workstation.
- Verify every environmental statement against the finished construction and target market.
- Lock tolerances, inspection criteria, carton packing and version labels before volume.
Use Stowliva’s custom MOQ guide to compare setup cost with inventory risk. When the size, product protection and artwork are ready, a controlled pilot is more informative than a large first order based only on unit price.
Frequently asked questions
Are custom bubble mailers worth it for small brands?
They can be when they protect the product and improve a repeatable unboxing. Start with samples or a short pilot; a stock mailer plus label may be better while order profiles and artwork are still changing.
How much extra room should a bubble mailer have?
Enough for the complete order to enter without stressing seams or the closure, but not enough for damaging movement. Test the real packout rather than adding a universal allowance.
Can a bubble mailer replace a box?
Only when the product does not require rigid crush protection and the complete mailer passes the defined shipping test. Retail cartons, glass, sharp corners and high-value goods may still need a box or insert.
What should be on a custom mailer proof?
Confirm finished size, material, bubble profile, seams, flap, adhesive, print method, colors, artwork position, carrier-label area, version code and any claim wording. Approve it filled with the real order.
Are poly bubble mailers recyclable?
It depends on the exact layers, labels, adhesives and available collection route. Do not make a broad claim from appearance or resin alone; obtain an assessment for the finished construction and target market.
Next step: Send packed dimensions, product weight and risks, preferred material, artwork, delivery markets, test expectations and quantity through Stowliva’s custom packaging quote form. Complete inputs make samples and quotations comparable.
Editorial note: Five newly sourced, licensed real photographs illustrate this article. Product specifications, certification scope and claims must be confirmed for each order.